
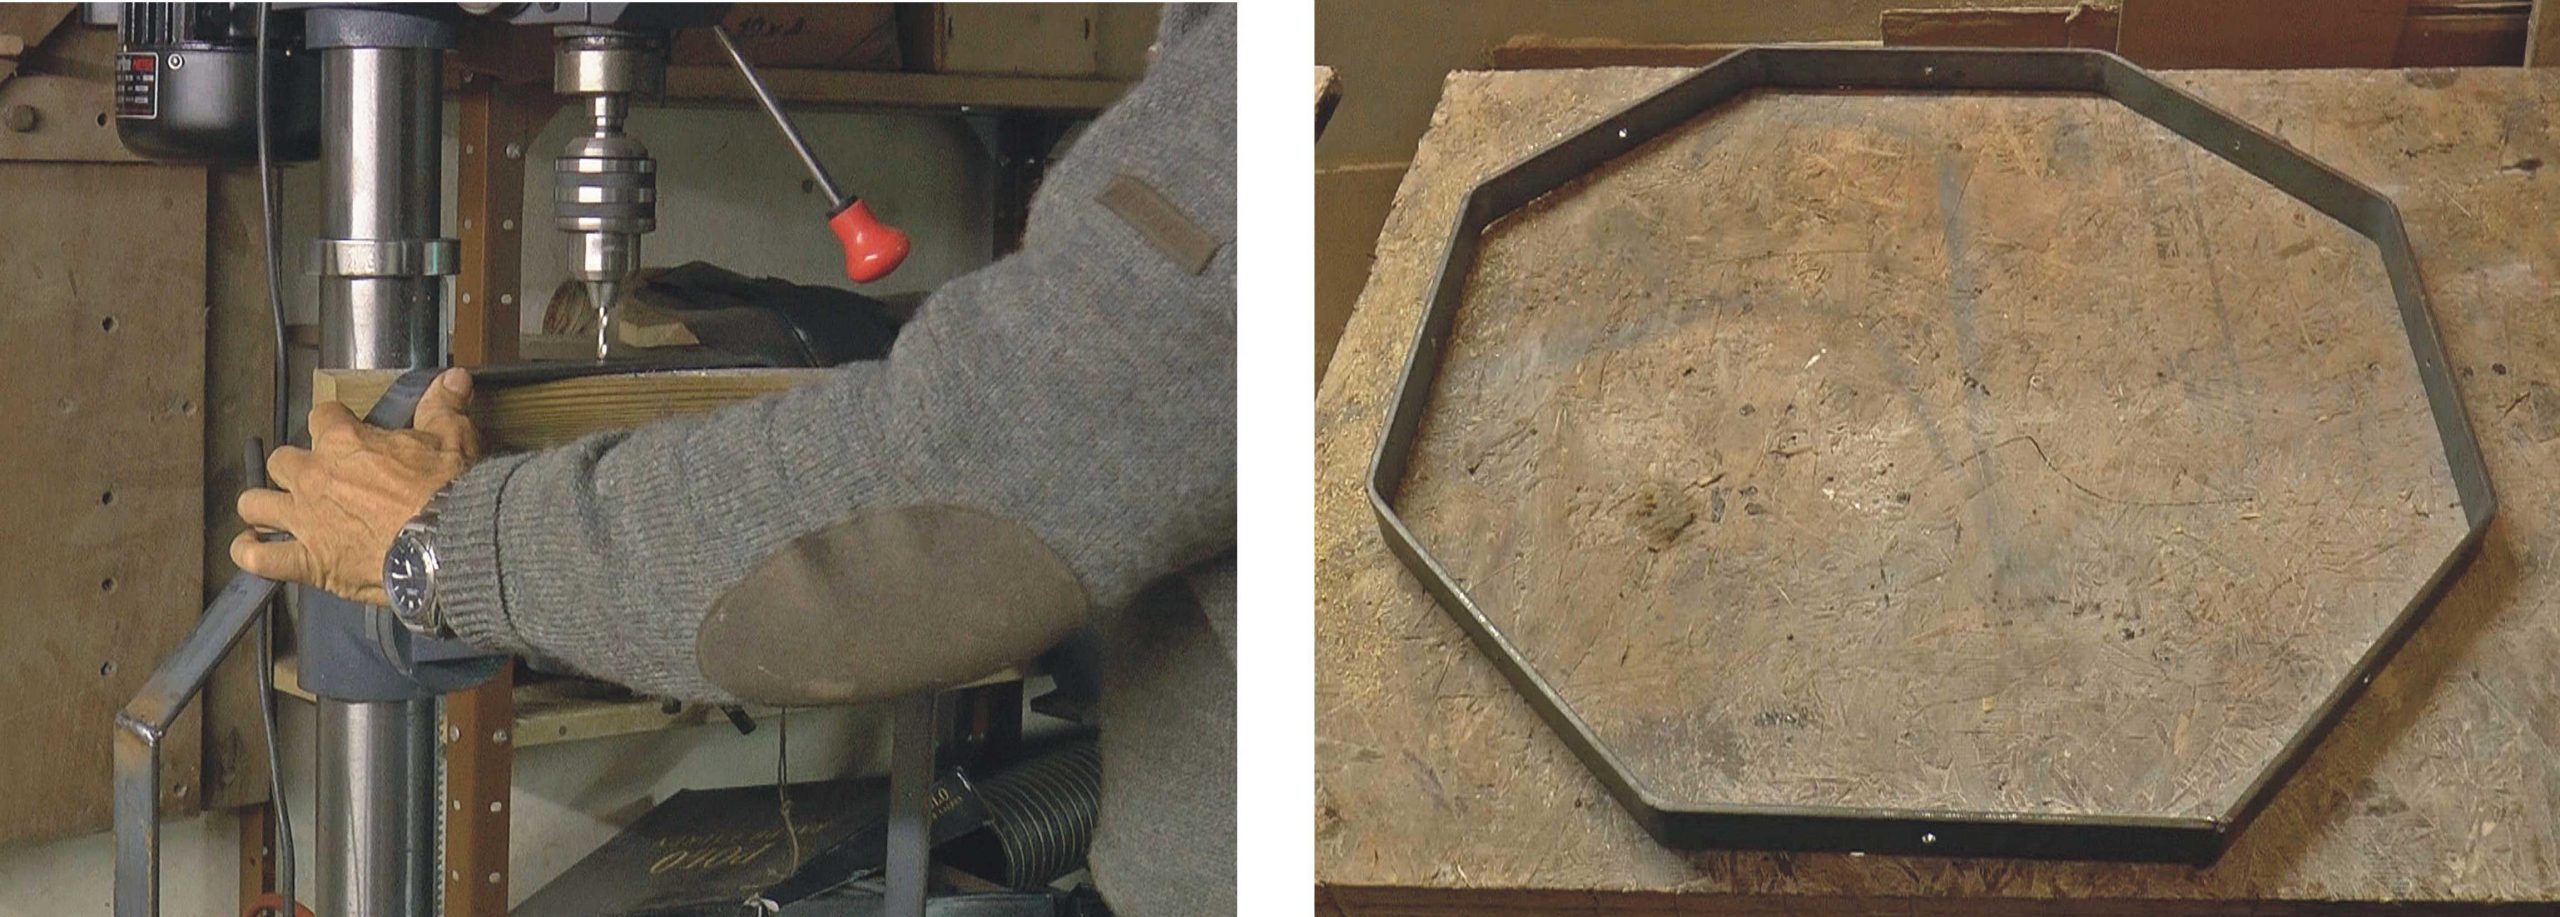
Below, left: I started by making a pattern in 3/4” ply. Below, right: Then I bent the 30 x 5 mm mild steel using a torch to heat up the area to be bent to red heat. This makes it very easy to bend by hand. (Red hot steel has the consistency of lead.) Also, the oxy-acetylene flame is very narrow so the heat is concentrated in a narrow band and the bend is quite sharp. You could also bend the steel cold in a suitable (large) vice, hammering it as you go to get a sharp bend.
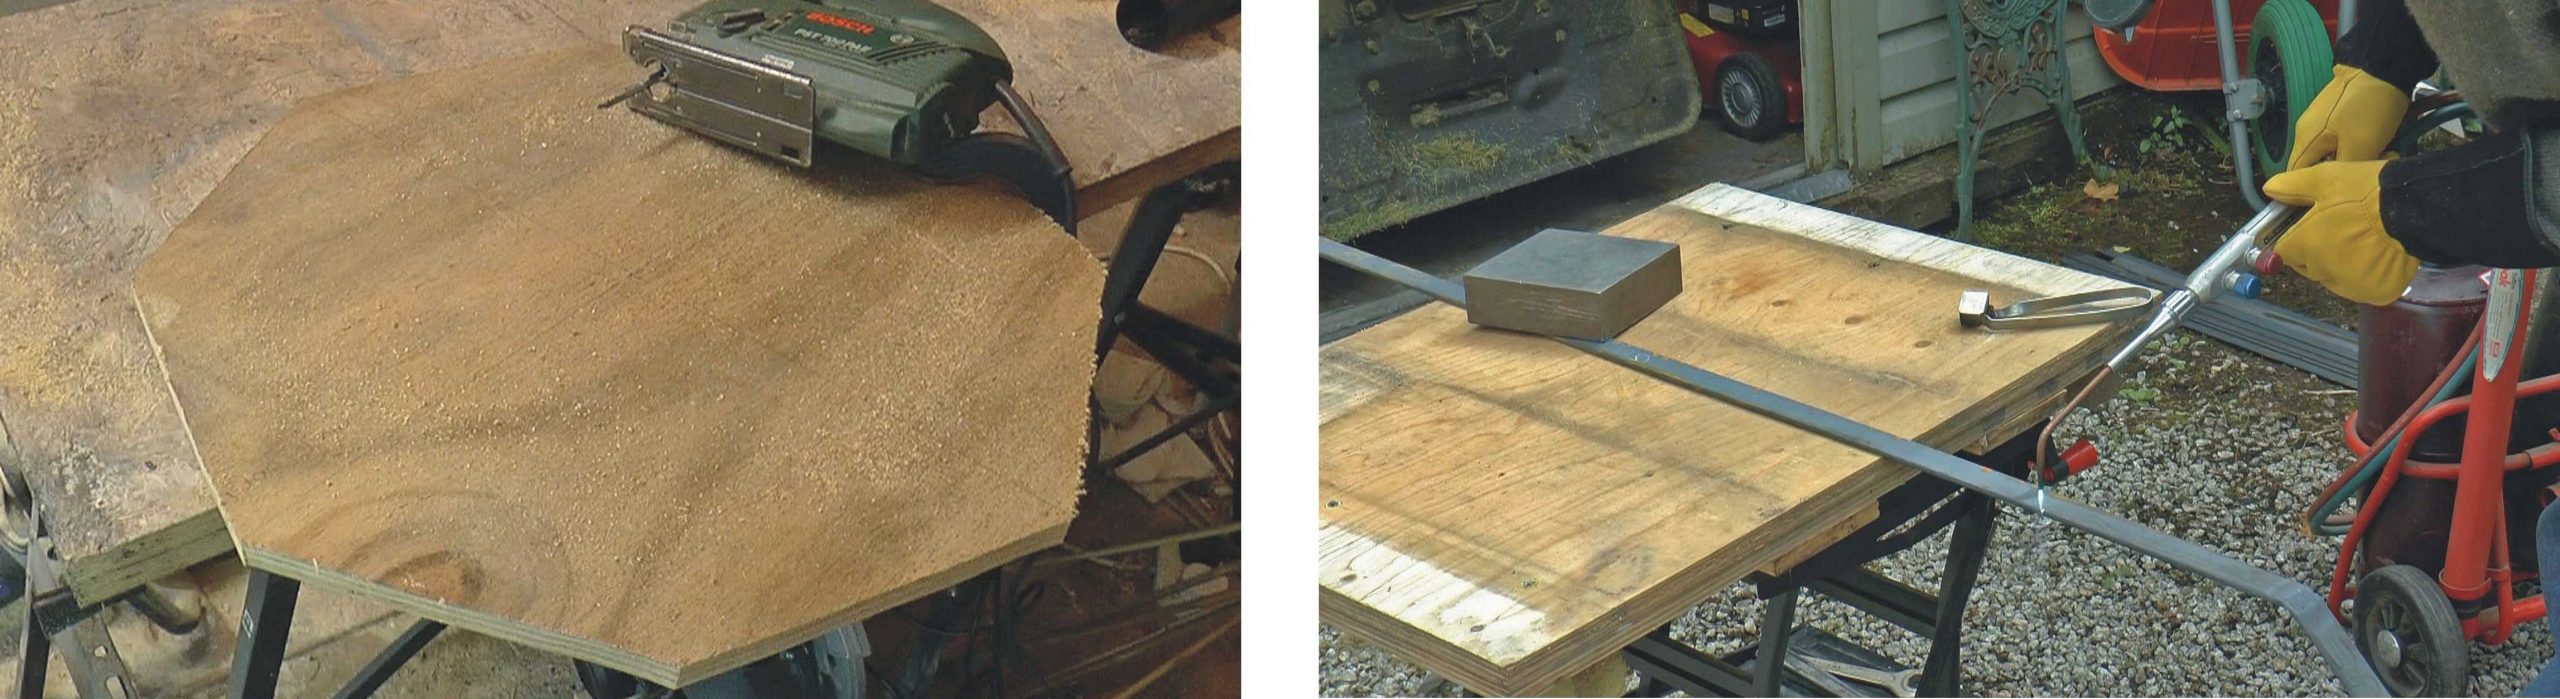
Below: Hot steel can just be bent by hand (and un-bent if it doesn’t quite fit the pattern).
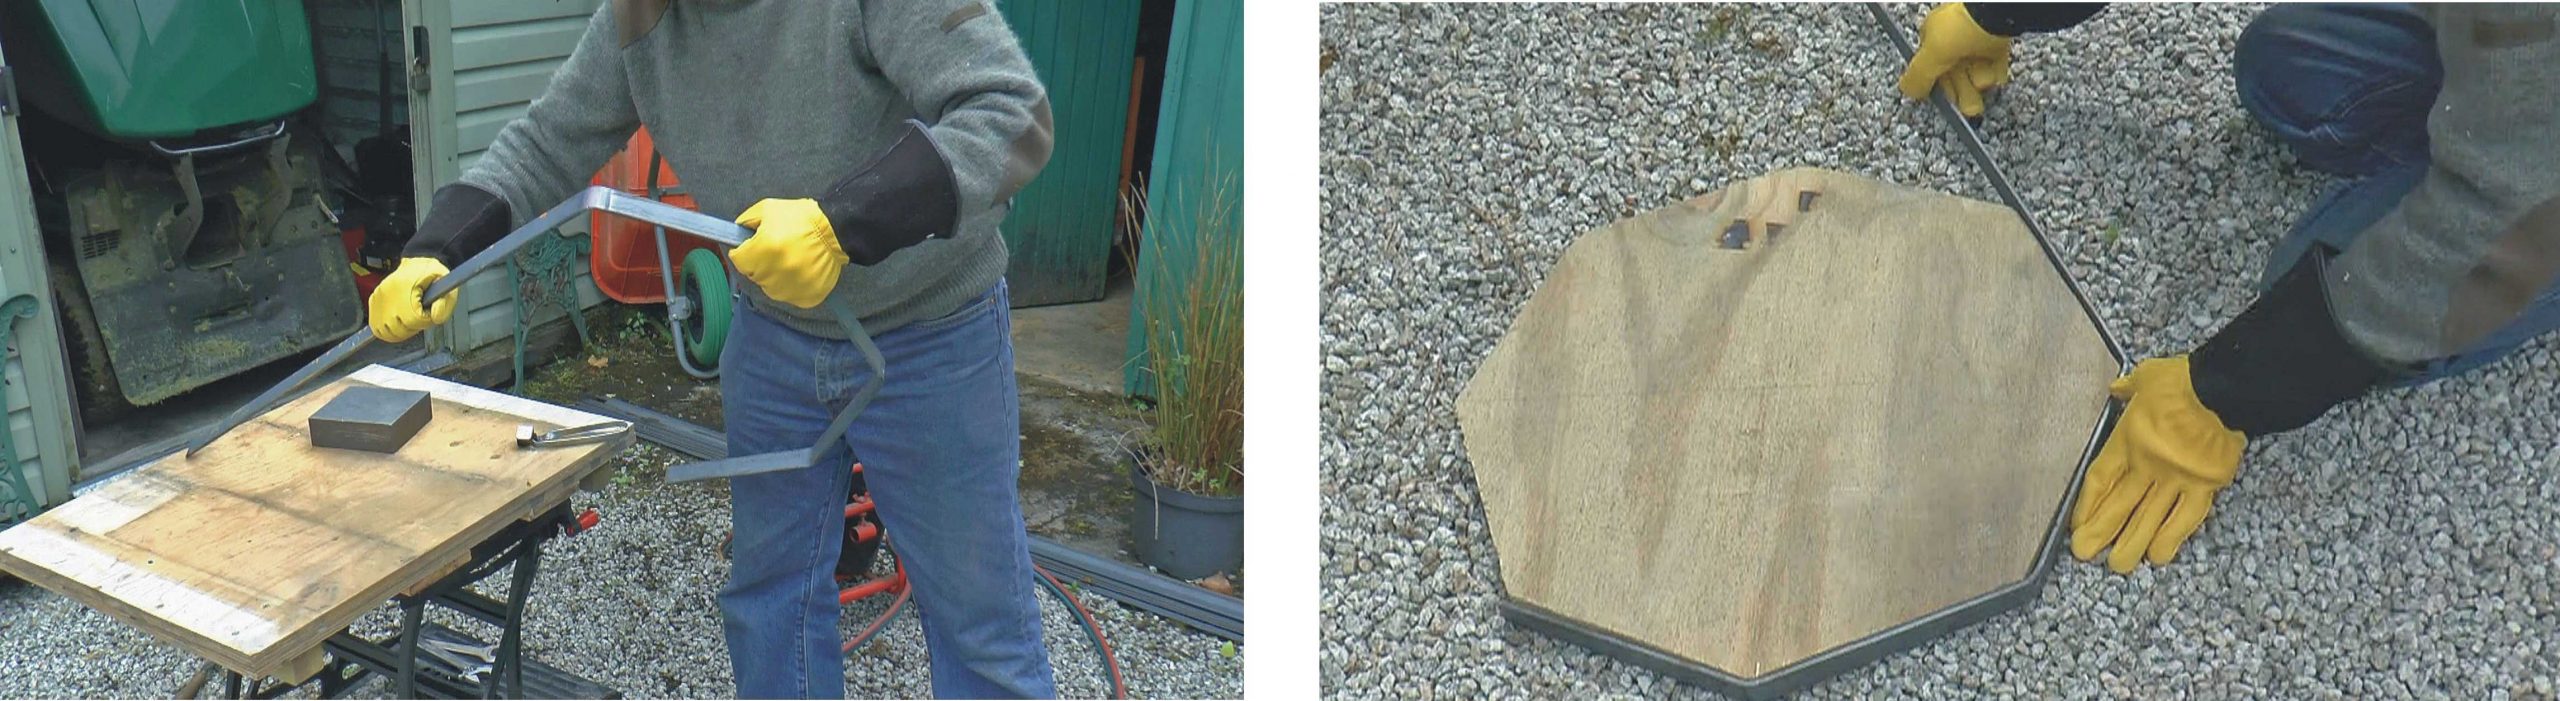
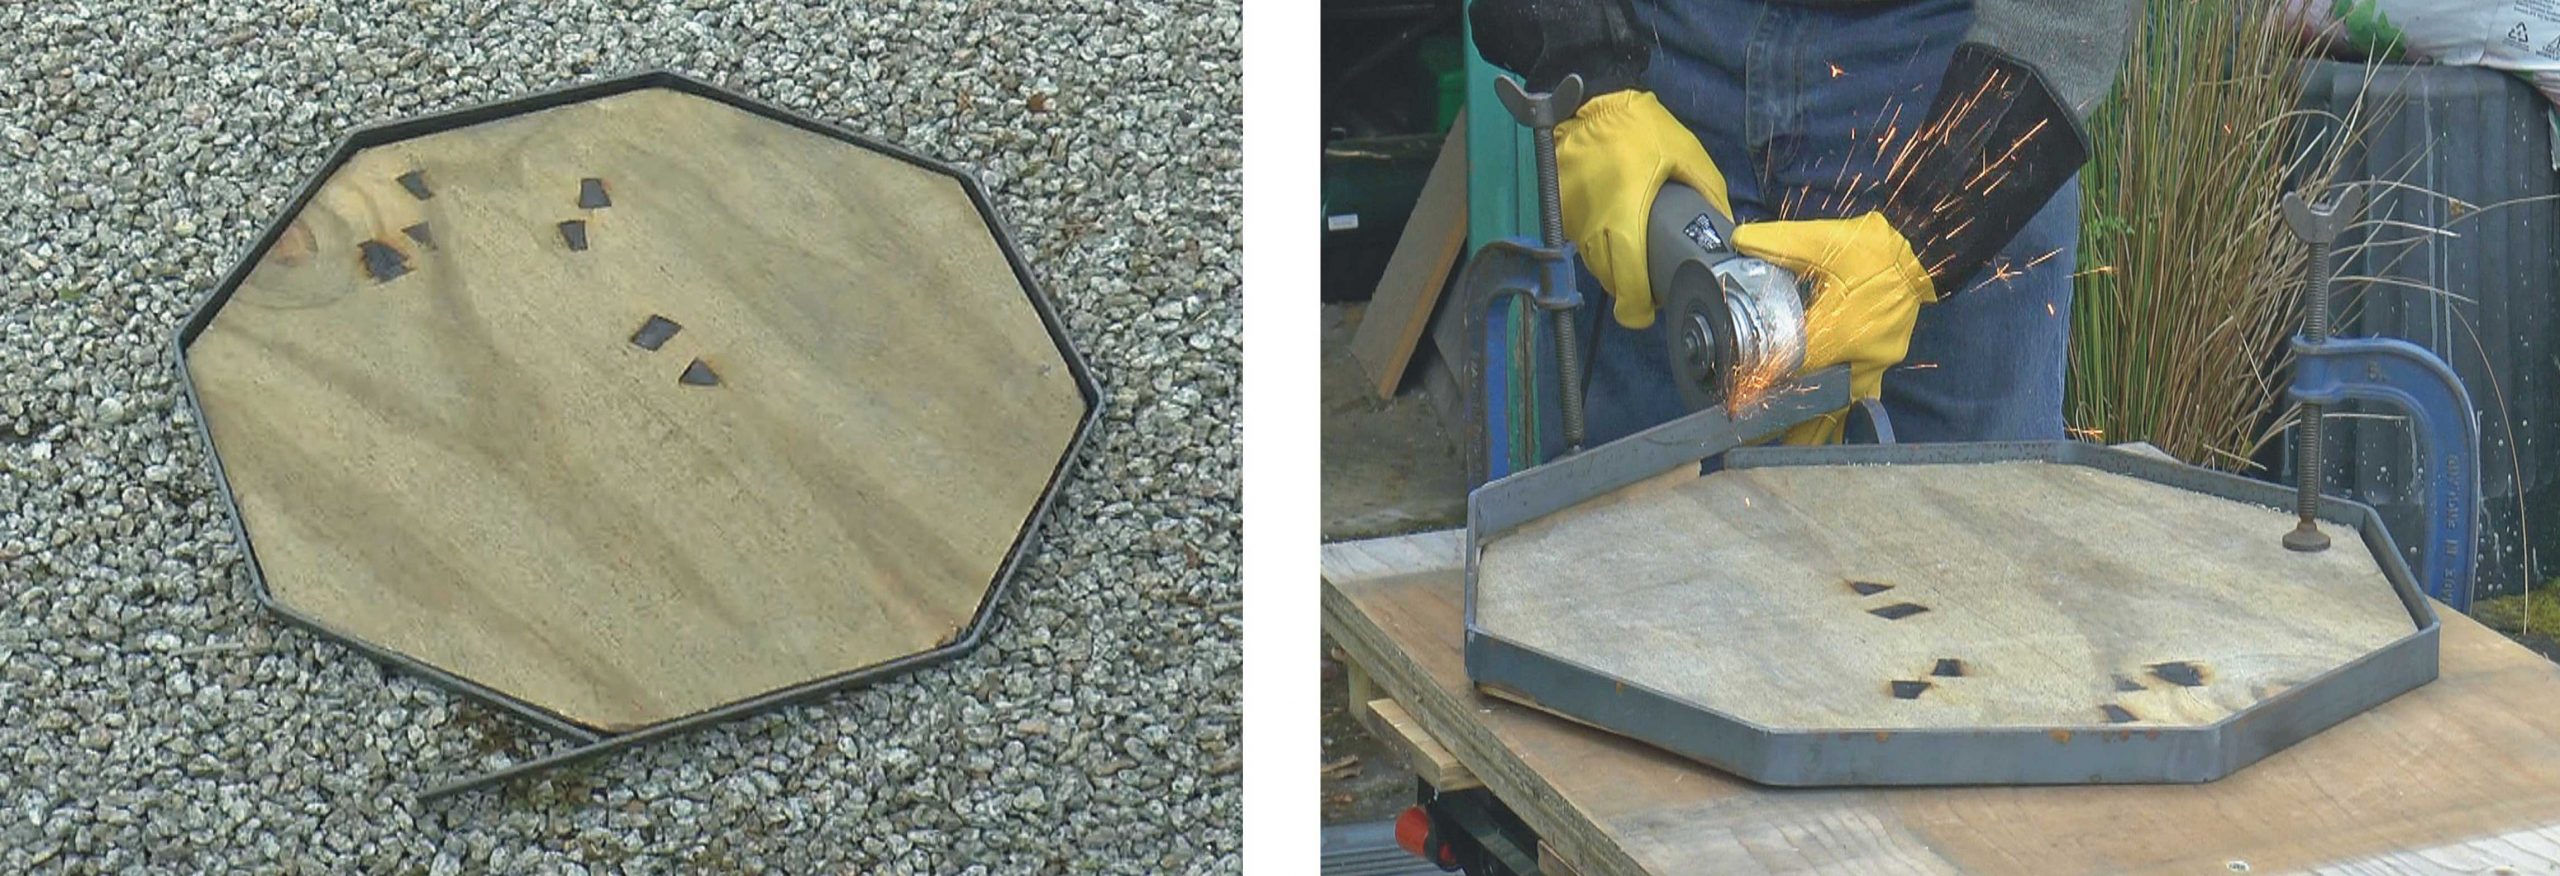
Below, left: Just a bit of trimming needed. Below, right: The excess can be easily trimmed with a 4 ½” disc cutter or a hacksaw. (The disc should have a guard but it’s a lot easier without. However, goggles and gloves are essential. The disc is very light and therefore stores very little energy, so a shattering disc will only cause moderate injuries – but you have been warned!)
Below, left: A bit of a bevel needs to be filed before welding and it helps to clean off the black mill scale from the vicinity of the join. An 80 grit flap-disc or a poly carbide abrasive disc (my favourite) on the 4 ½” grinder is best for this. Below, right: Not quite perfect but good enough. I weld both sides and didn’t bother about any grinding down or cleaning up – it will be 10 feet up and (hopefully) covered in vegetation!
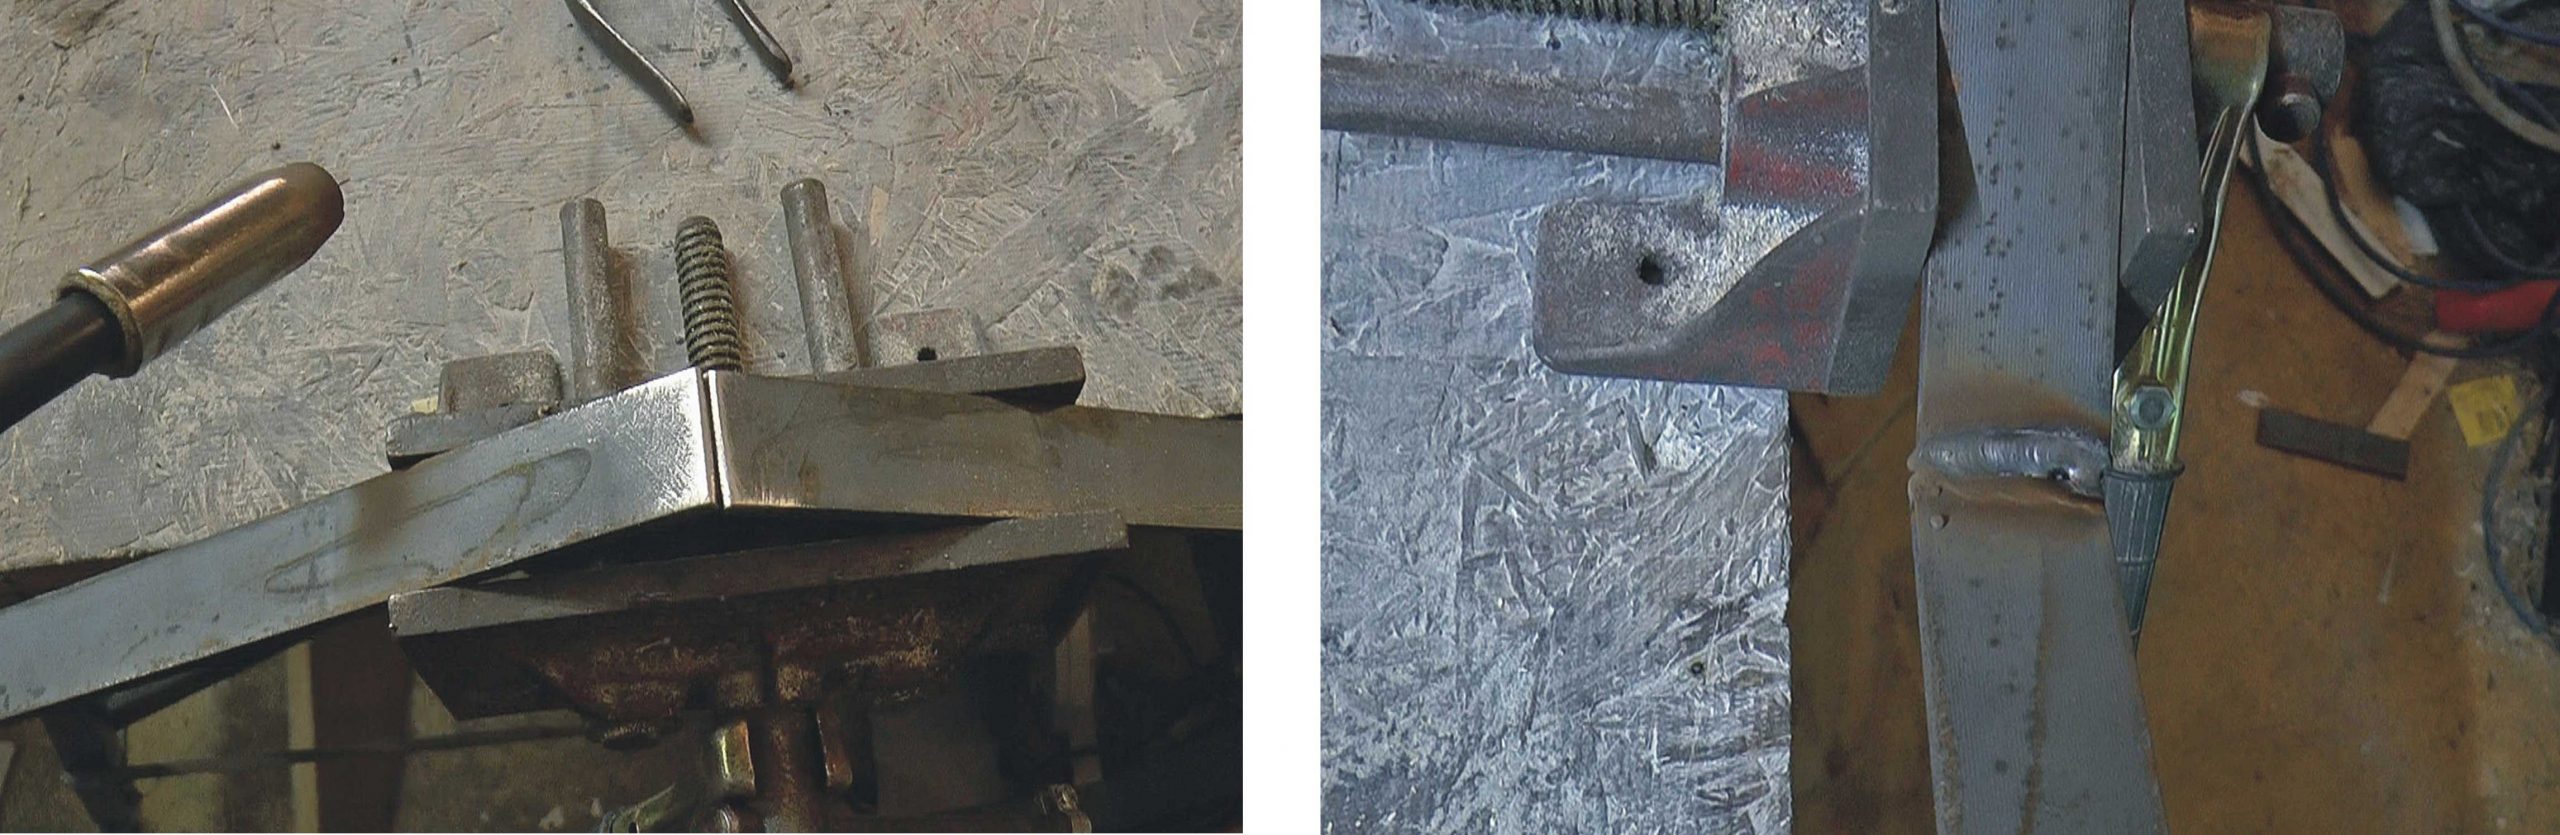
Below, left: Centre-punch in the centre of each side and drill 5.5mm holes for the 5mm screws which will hold the whole shooting match together. Below, right: This part is done!
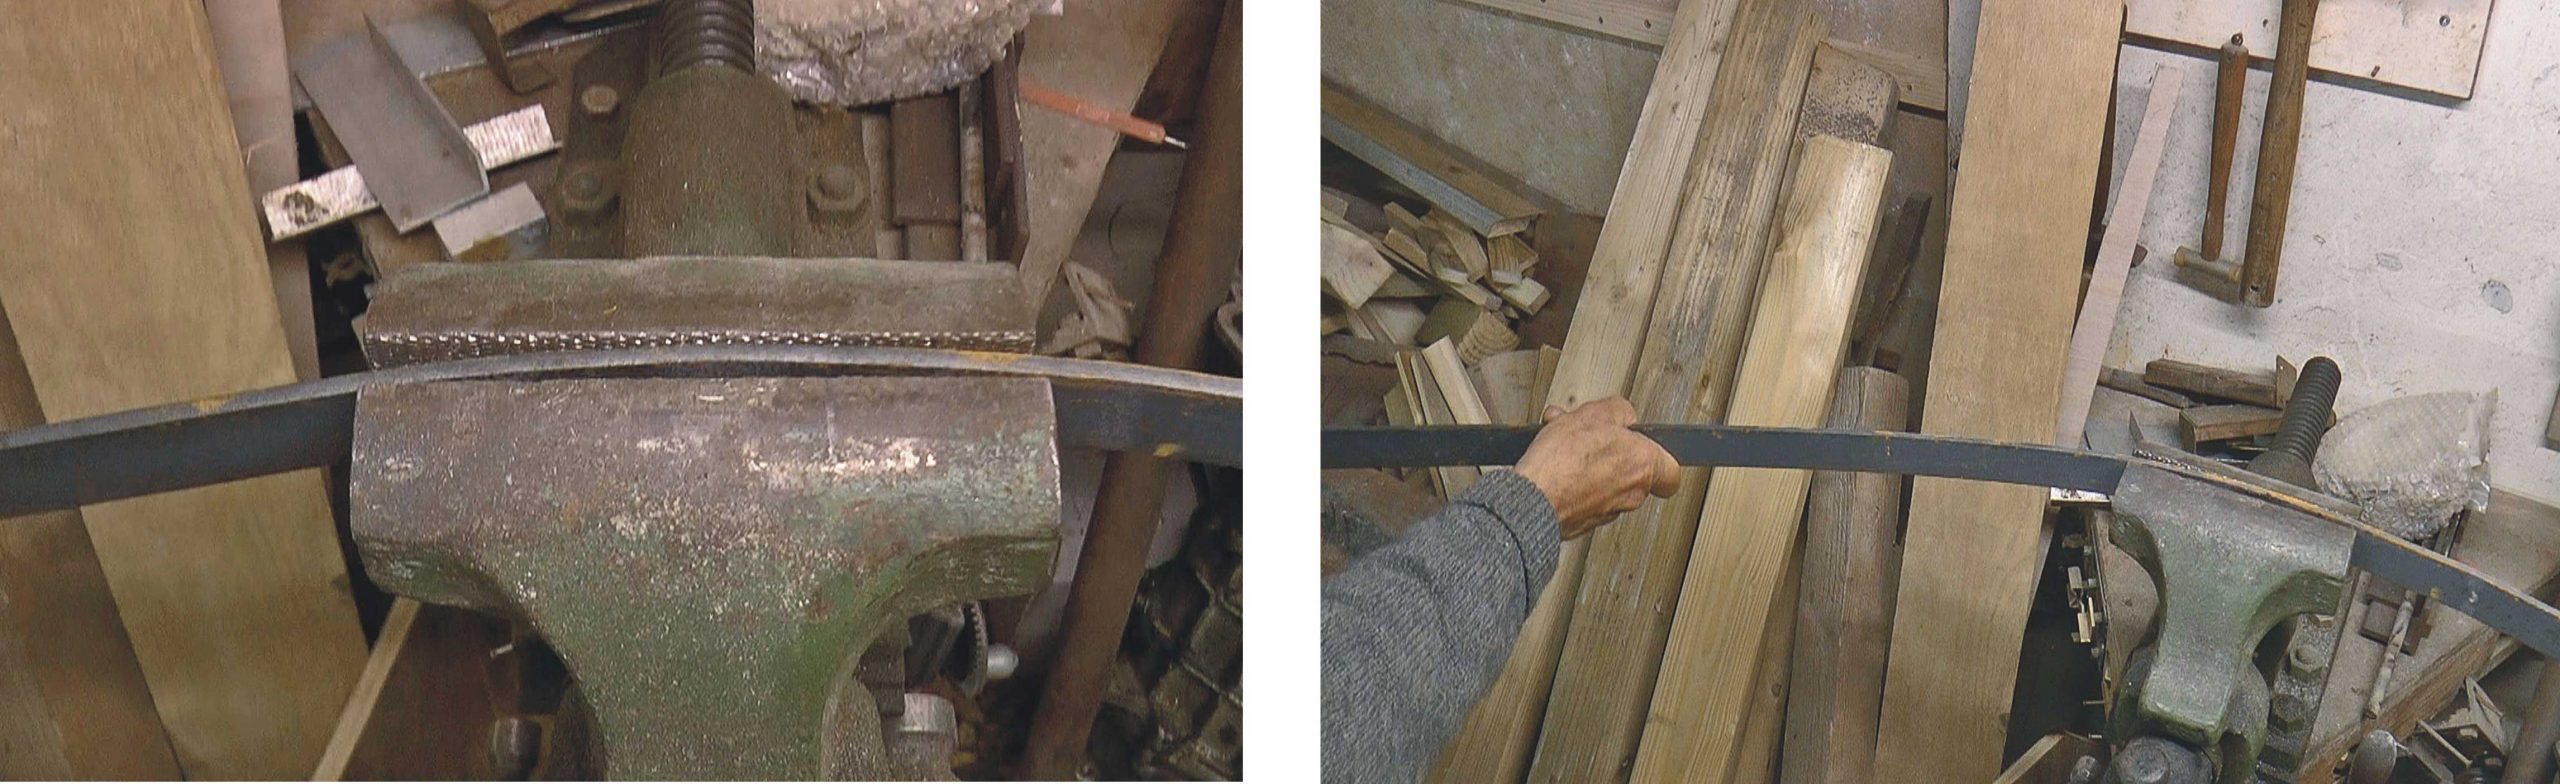
Below: Eight pieces of 30 x 5 mm steel bar need to be bent into a curve. It doesn’t take much effort to bend the bar but the curves need to be consistent. Without special equipment, I have found one way is to bend the bar in the jaws of a vice set with a slight gap. This acts as a check to limit the tightness of the radius of the bend. I feed the bar into the jaws from the left, a couple of inches at a time. I put a small bend in the bar against the left hand edge of the jaws then feed the metal into the gap between the jaws. If it won’t fit, I bend the bar back a bit till it does. I continue like that until the bar is bent throughout its length. Any slight irregularities will not show up. I lay the bars together and adjust the bend until they all match more or less.
Below: I bought the steel in 2m lengths as, after waving my steel rule about near the top of the pergola, I guessed that would be about right. The steel going to the corners will need to be longer than that going to the sides, so I made the corner steels the full 2m. I drilled holes near the ends for fixing. Then I screwed the steel pieces to the corners. I nut and bolted the octagon in place. I then trial fitted one of the bars that attach to the sides so as to gauge how much needed to be trimmed off. I then fixed these and the job was completed!
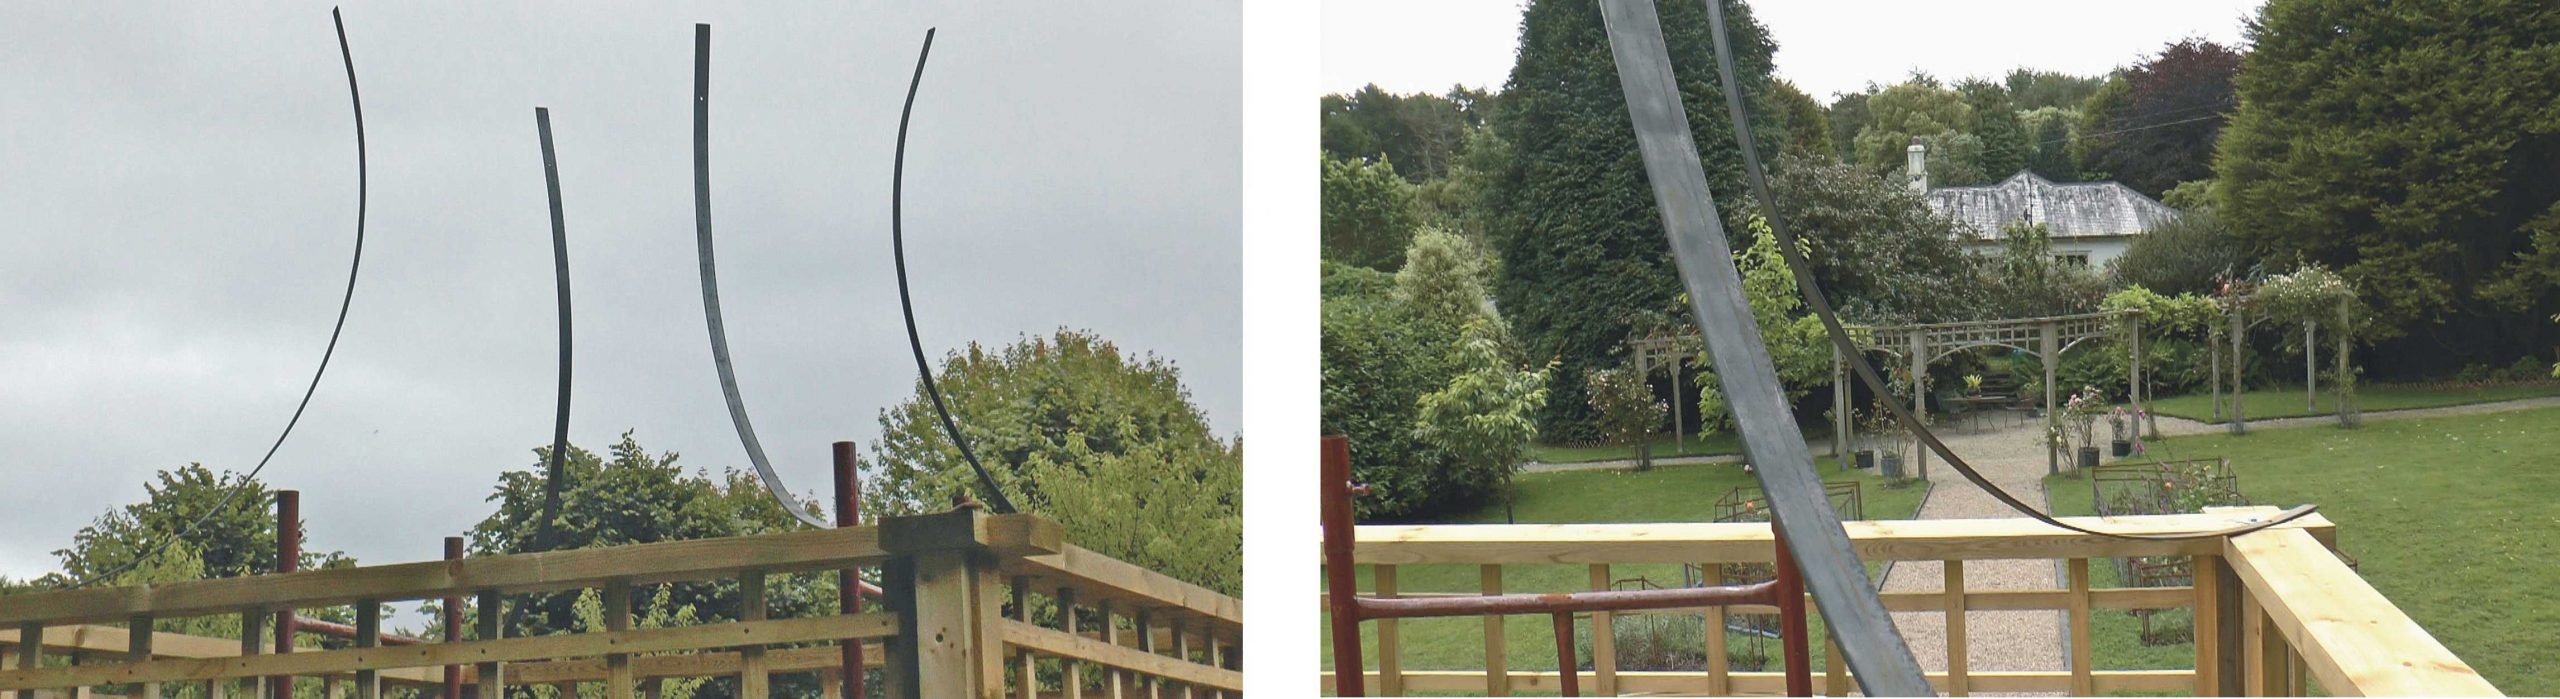
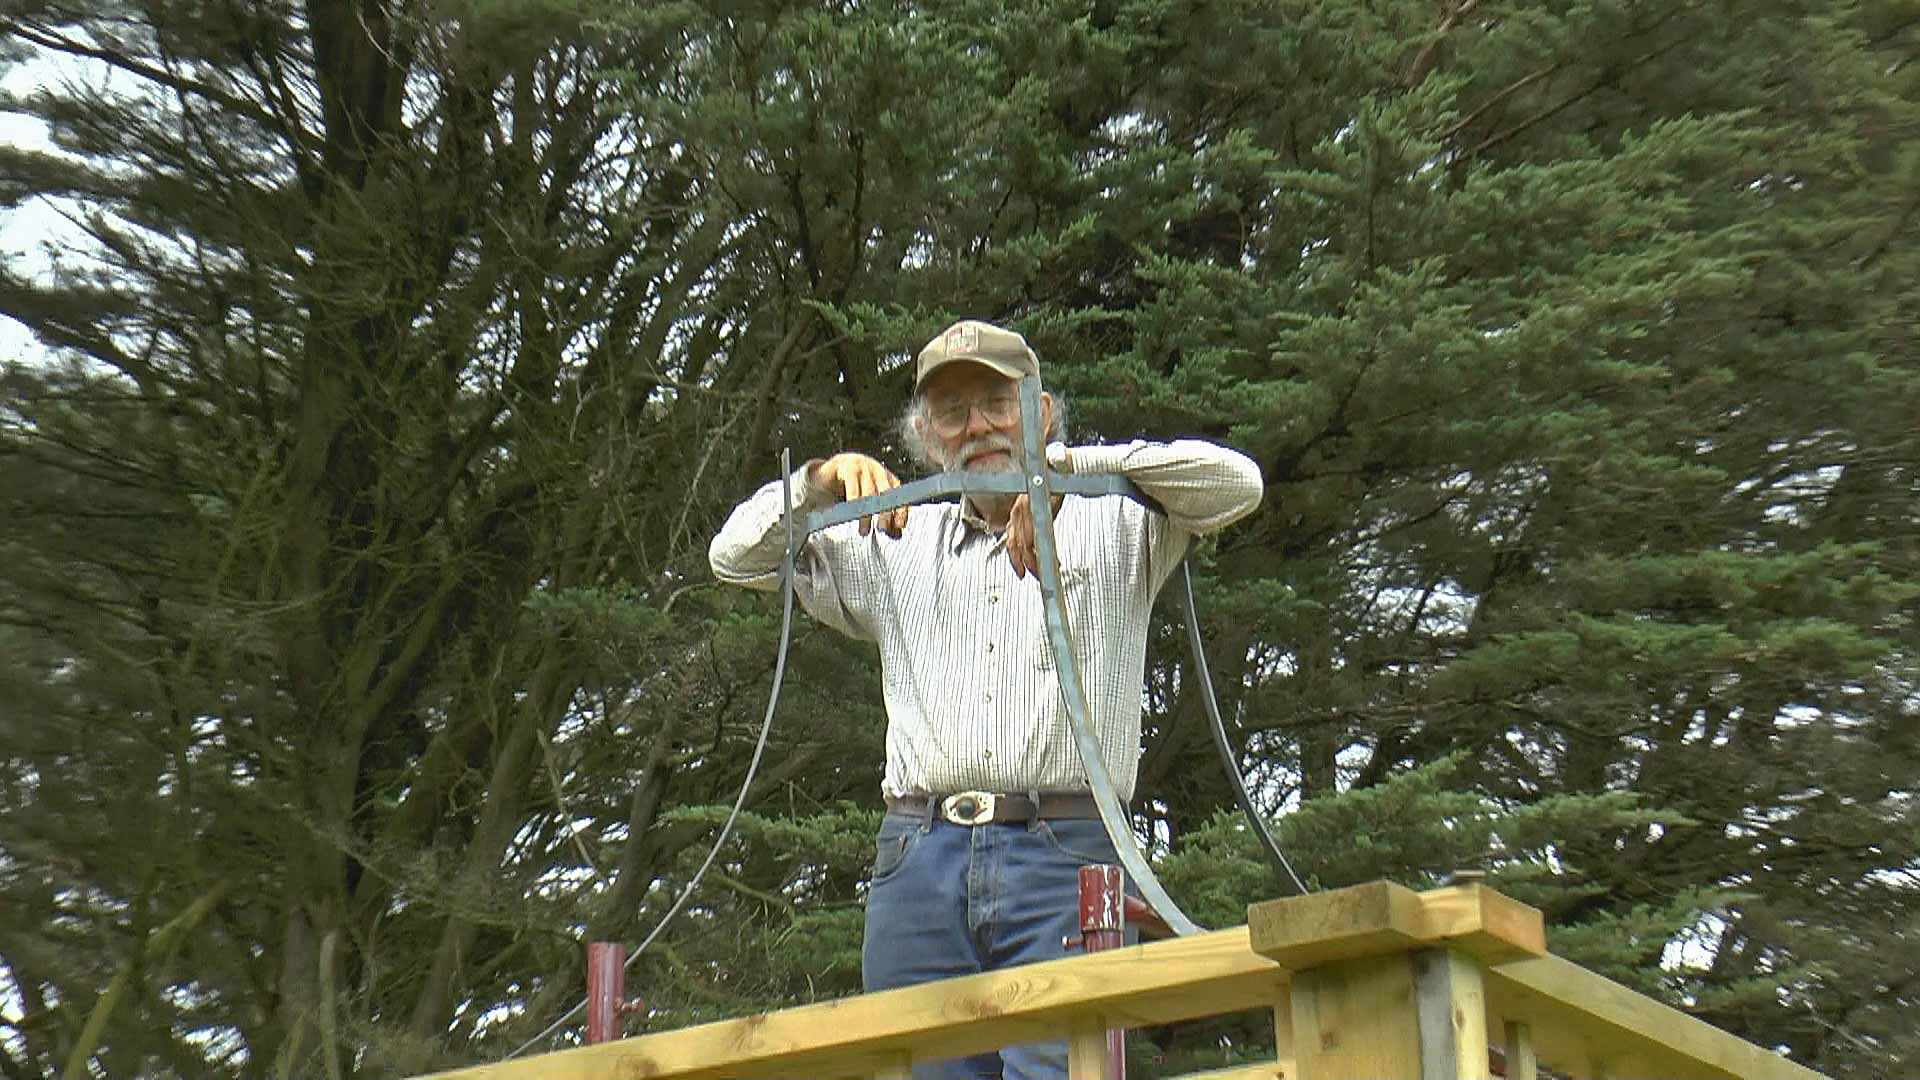
Above: Going up in the world!

Above: A plant at each corner with rabbit-proof (fingers crossed!) fences.