To provide structure and focal points to a garden, we plant trees establish flower beds and perhaps build trellises, archways and pergolas on which we can train climbing plants. (Go straight to making a pergola.)
With regard to archways, there is something about doorways and passing through them (even if they are not through solid walls) that seems to resonate powerfully somewhere deep in the subconscious. Crossing a threshold is always more than just moving forward one step. But enough of the psycho-babble already! This is how I have built a number of structures in our garden, trying to keep the elegance to ease of construction ratio as high as possible,
I wanted to make these garden structures to look substantial, last at least 20 years and be as easy as possible to make. For ease, I want to do as little ripping down timber as possible – I just want to cut it to length! Also, all the timber is treated, the treatment only goes in a short distance so re-dimensioning means more rot treatment which will never be as good as the factory processing which is done under pressure. (Cut ends etc. should be painted with preservative but this is not as effective as pressure treatment.)
I normally use MetPosts rather than Postcrete. It’s quicker and cleaner, especially if you’re putting posts up on grass and it keeps the end of the post above ground which must help prevent rot. They are more difficult to get vertical but there is always a bit of play which can accommodate most inaccuracies. Do use galvanised metposts, however.
My basic materials are 3×3″ and 4×4″ posts depending on the scale of the construction. 6×2″ for the tops and for various curved sections and various smaller stuff for the trellis parts. I also use 25x4mm mild steel bar for the pergola canopy etc. I don’t treat this, I let it rust gracefully!
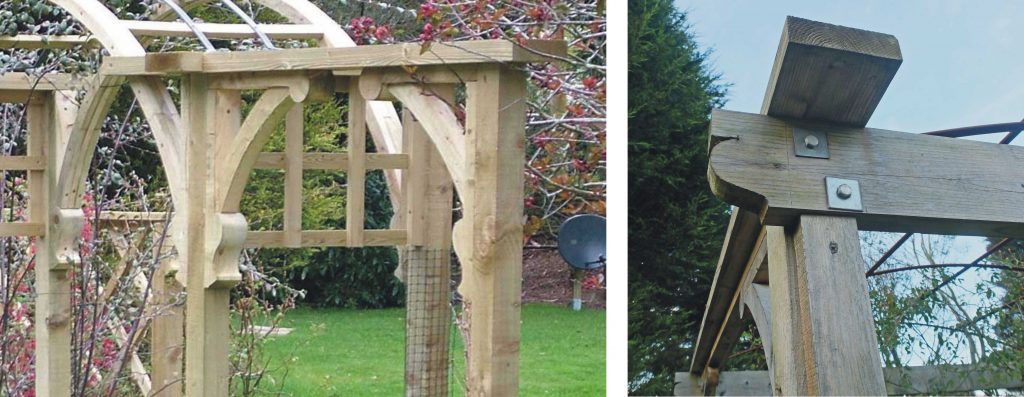
I have a modular approach to the construction as far as possible and have a bracket design cut from two bits of 3×3″ and one of 6×2″ which is standard throughout. I limit the scope of my joinery work to cutting half joints.
Fixings are various sized coach-bolts in the main from 8 to 12mm with nice big square washers. The trellis parts are fixed with a variety of wood screws. I don’t think I used any nails.
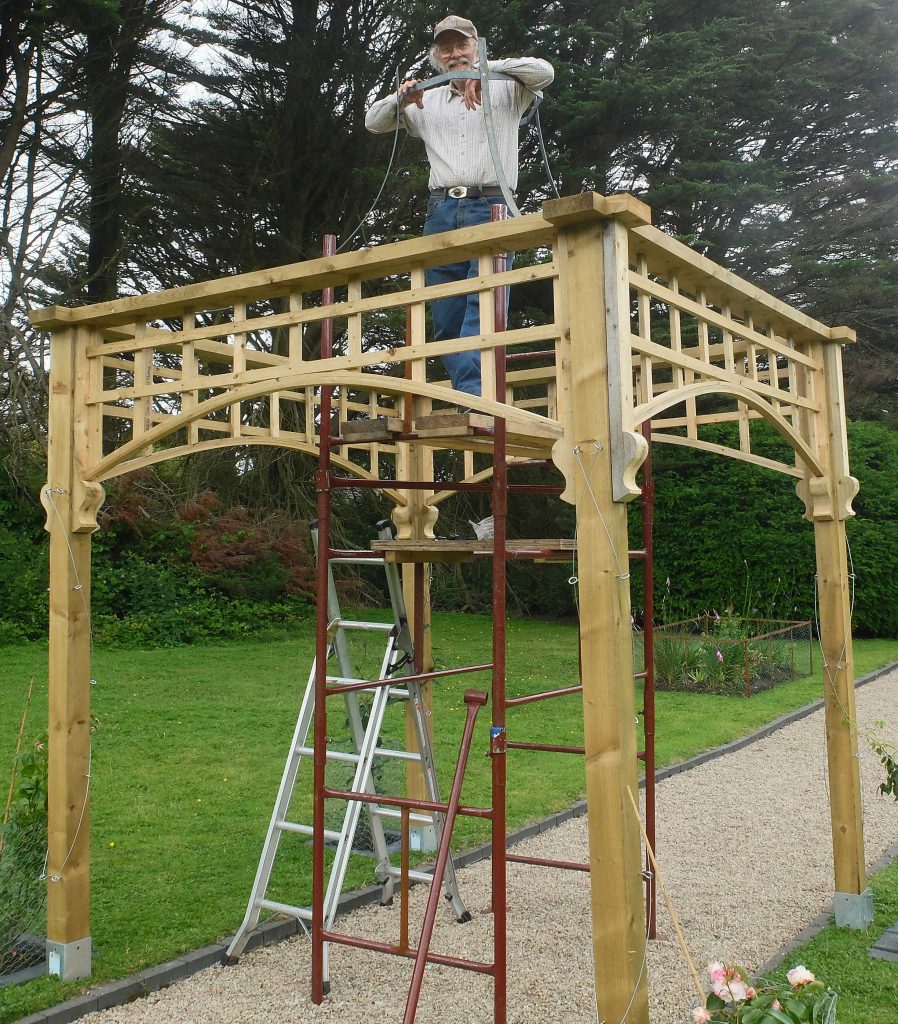
Tools needed are a cordless drill/screwdriver, an electric hand saw (to machine large half-joints mainly) a hand saw, a sledge hammer (for the metposts) a level, a couple of cheap “workmate” benches, a fair quantity of G-clamps, a pair of steps etc. An electric chop saw speeds things up. The most expensive item is a band saw which will be needed to cut the curved pieces which are 3” deep although with care, a good jig saw could be used.
A heavy vice to help to put some sharp bends in the steel may also be needed if you want to some of this material. (Although oxy-acetylene makes it very easy – maybe a friendly local garage?)
Design
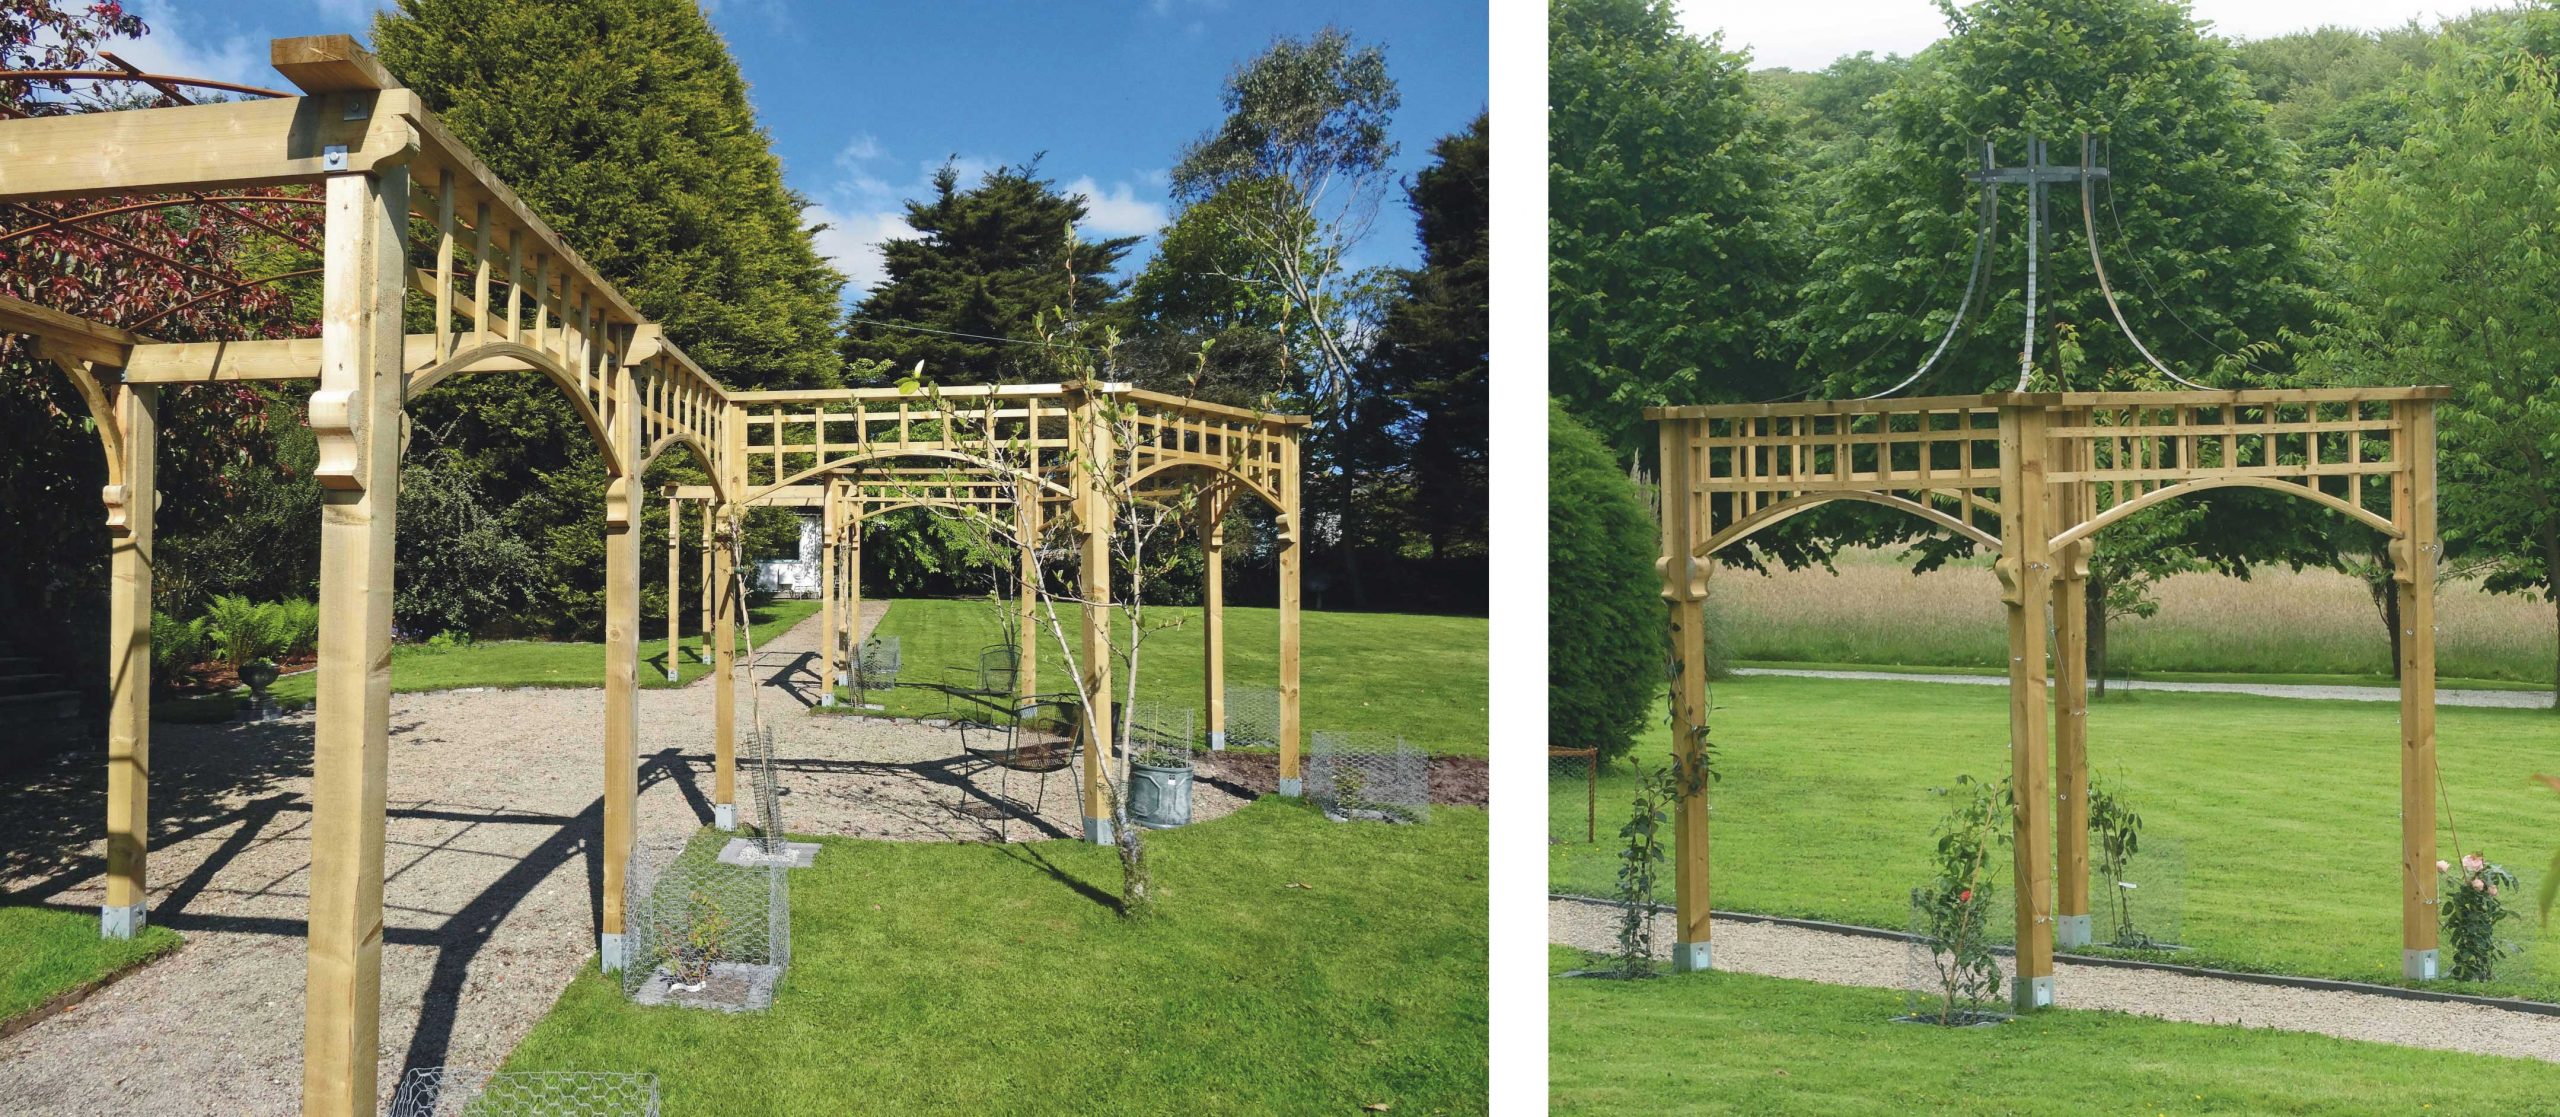
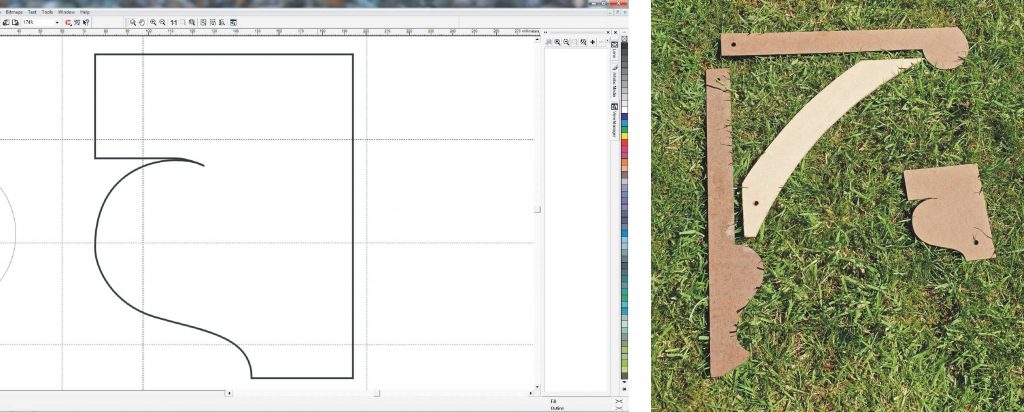
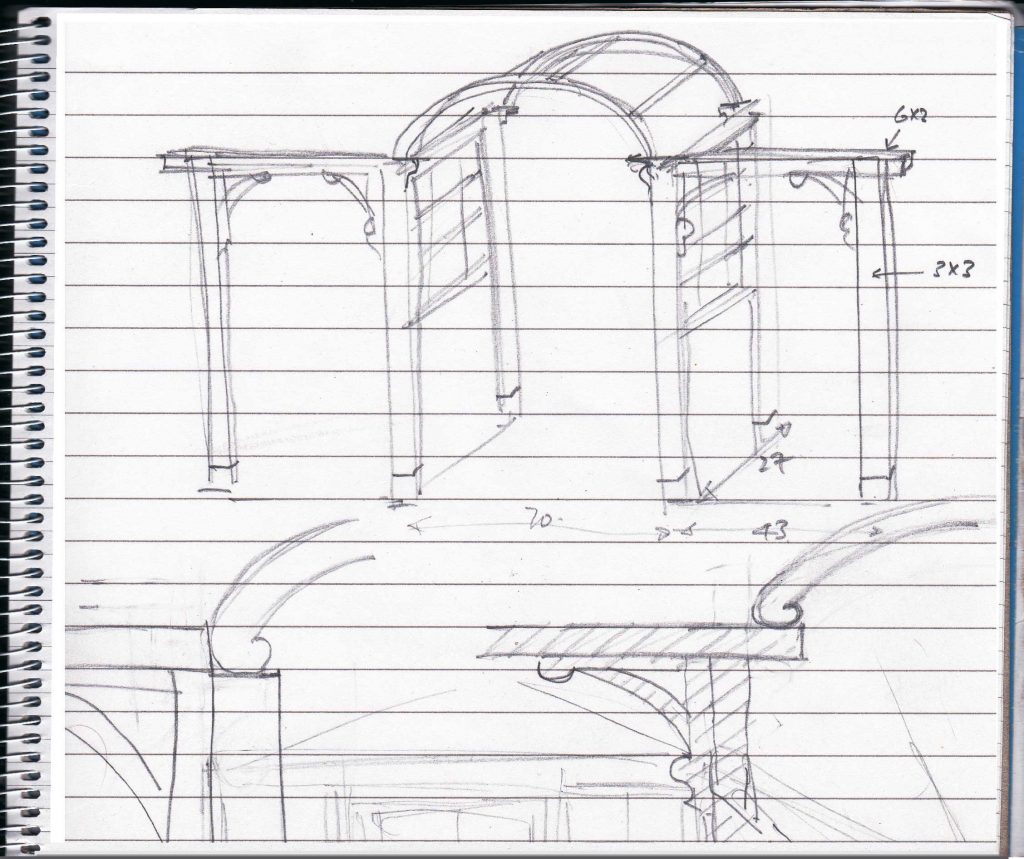
As I say, simplicity is my watchword and my constructions a made of straight treated timber of standard dimensions except for some brackets and a little scroll work on the ends of some cross members or lintels. The are shown in the pictures below.
Below: I have designed these shapes on an old version of CorelDraw but any drawing program which offers Bezier curves etc. would do or you could easily sketch freehand. I have transferred the design onto hardboard or similar to make templates. The top and upright parts are cut from 3×3” timber. The diagonal curved part is cut from 2×6” stuff. This allows a deep enough curve and making this component thinner than the other parts looks right from an aesthetic point of view (in my opinion!)
The components of the bracket were cut out on the band saw, although, I cut as much of the straight part as possible on a circular saw. You could use a jig saw but when cutting thicker wood, the blade tends to bend and the result is a bevel. To avoid this, make a number of straight cuts at right angles to the intended curved cut up to the line (on the waste side of the line, of course!) Then cut the curve, in effect, in sections which avoids a gradual increasing bending of the blade. You may need to clean up the curve with a chisel, rasp or abrasive paper.
The scroll on the end of the lintel, which is also made from 2×6” stuff, needs to be cut with a jig saw because of the length of the timber. Cutting 2” on a jig saw is not so much of a problem.
Next, I’ll say a bit about the construction of the archway shown at the top of this page, concentrating on making the curved head then describe in fuller detail how I made a pergola (which uses a different technique to construct the curves).
Archway
The sketch on the left shows the initial design. The actual arch developed into something slightly different with regard to the springing of the arch from the uprights which in the as-built design looks much more like a mirror of the bracket on the other side. Also it is much stronger as the arch is fixed in two places on each side.
I have made other arches by bending strips of wood between the uprights and then screwing them together. This would not work with the curvature required here. It could be done with a number on thin strips laminated together. However, they would have to be bent in some sort of former and glued together with some sort of clamping arrangement.I have used a different approach here, similar to building with (curved) bricks. Relatively short sections of the curve are cut out and screwed together in three layers with the joins staggered. In retrospect, I could have staggered the joins better so the joins were a third of the way along each “brick” instead of halfway. Nevertheless, it was strong enough.
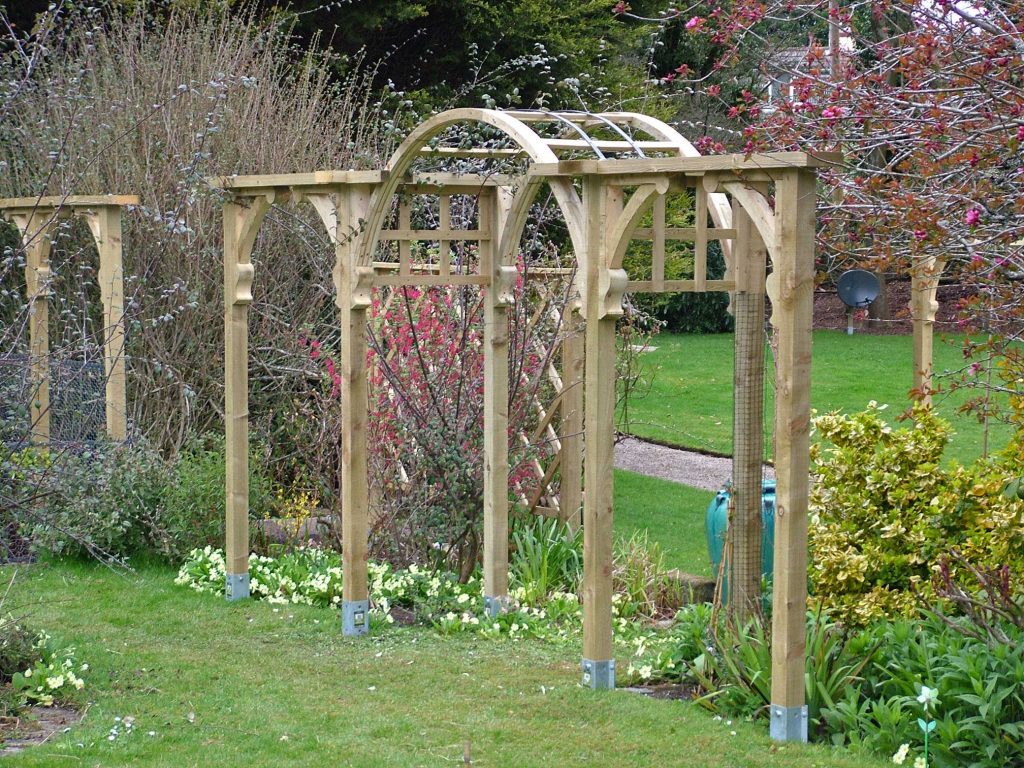
Incidentally, I’ve proportioned the spacing of the uprights according to the golden ratio which is about 1.6 : 1. So starting with the main opening as a given (70”) the other two work out to be 43” and 27” approximately. Opinion is divided as to whether this proportion, which goes back to the Ancients, has any deep significance but I think it looks nice and nice was what I was shooting for!
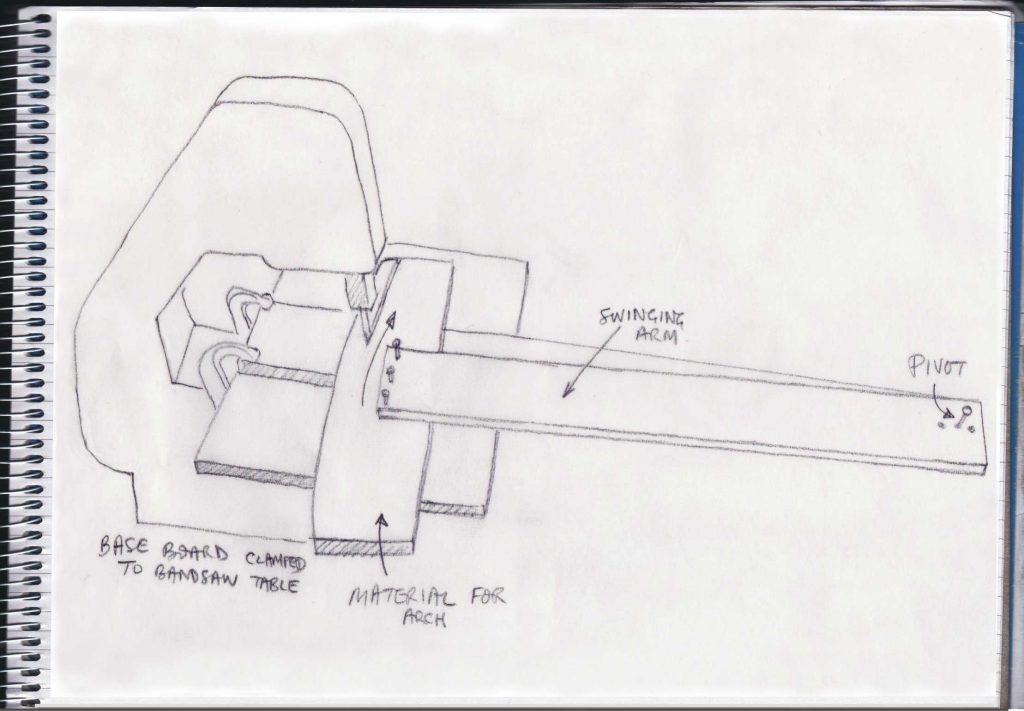
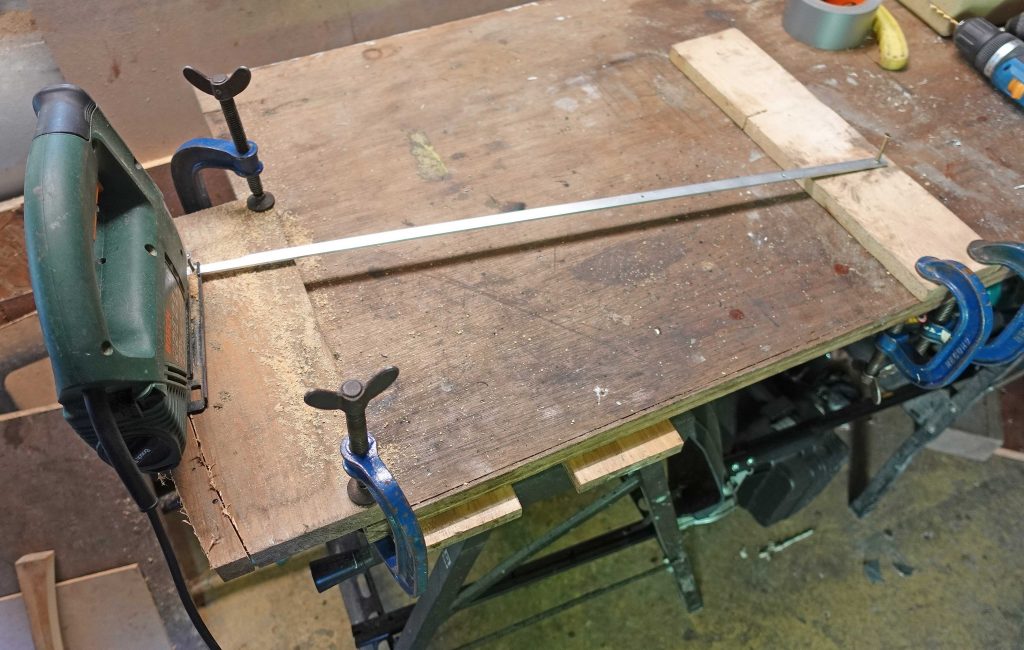
Above: I cut the curved sections of the arch using the band saw and a “swinging arm” that guides the curve. I tried cutting the curves freehand but it’s much easier and much more accurate to use the simple jig shown above. Below: you could also use a jig saw and trammel arm which would possibly be easier. The bar is made from thin aluminium and fits into the slot on the jig saw for the adjustable guide. Dill two holes in the far end to correspond to the desired inside and outside radius.
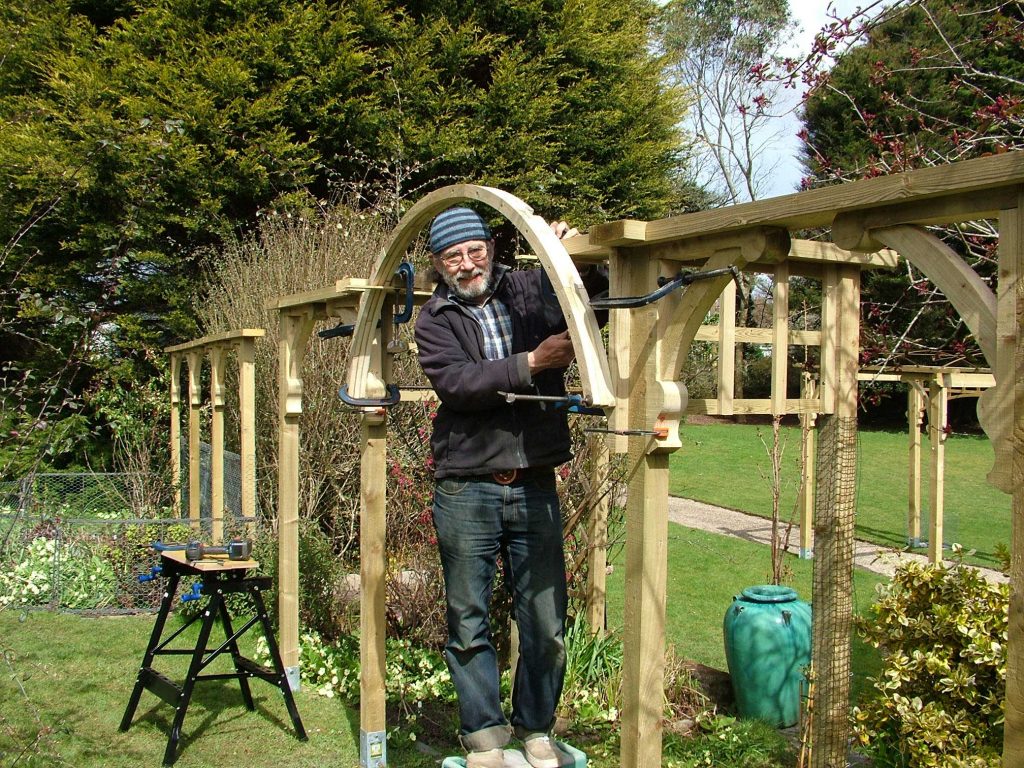
Above: Here I am clamping the arch to the front of the construction to mark where the bottom of the arch needs to trimmed so in springs from the “bump” attached to the upright and also to mark out the cut which needed to be cut in the end of the lintel.
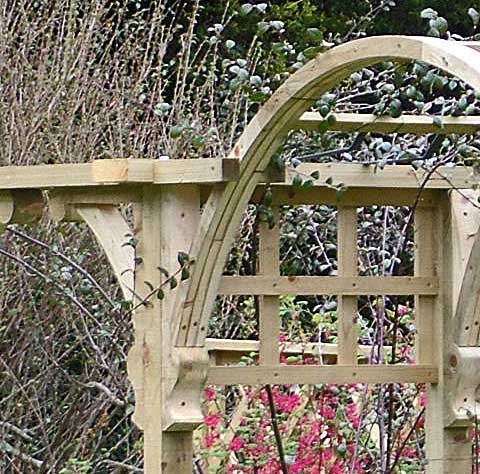
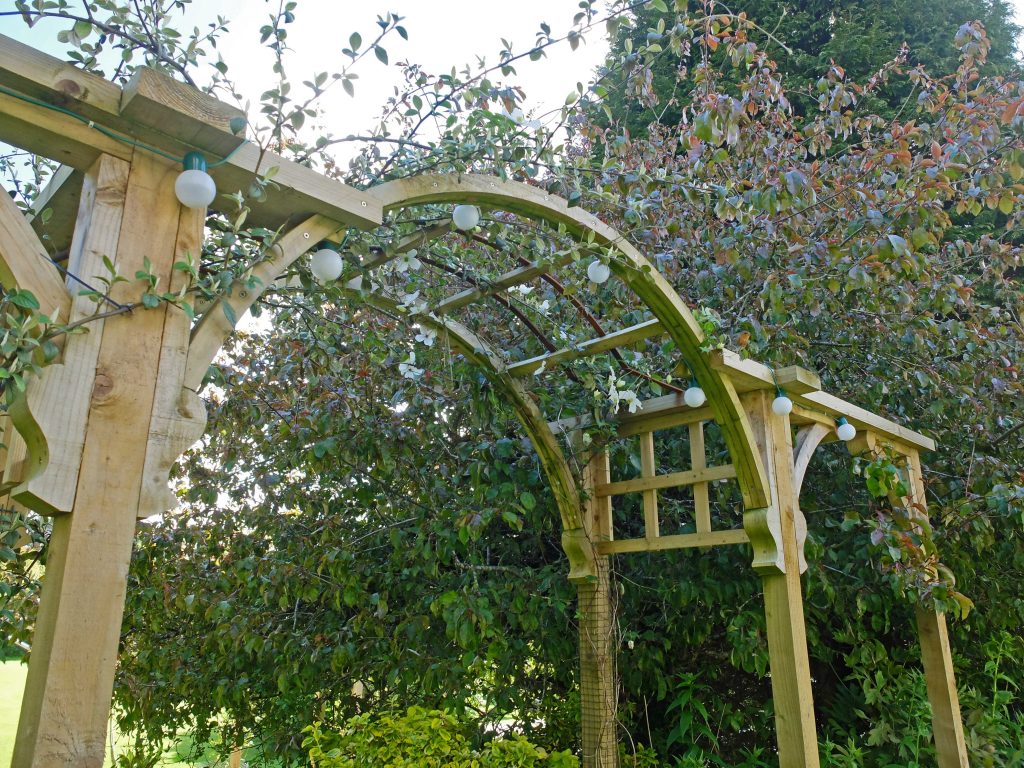
Above: the curved sections making the arch are screwed together and to the upright. As you can see, at the front, the arch is cut into the lintels on either side. This locates it very strongly and looks right (IMHO). There is a little bit of trellis between the two uprights.
Above: I have notched cross pieces into the two arches, bent some 25x4mm steel and screwed it to the cross pieces forming a trellis. Later, I describe how I bent a long curve in the steel.
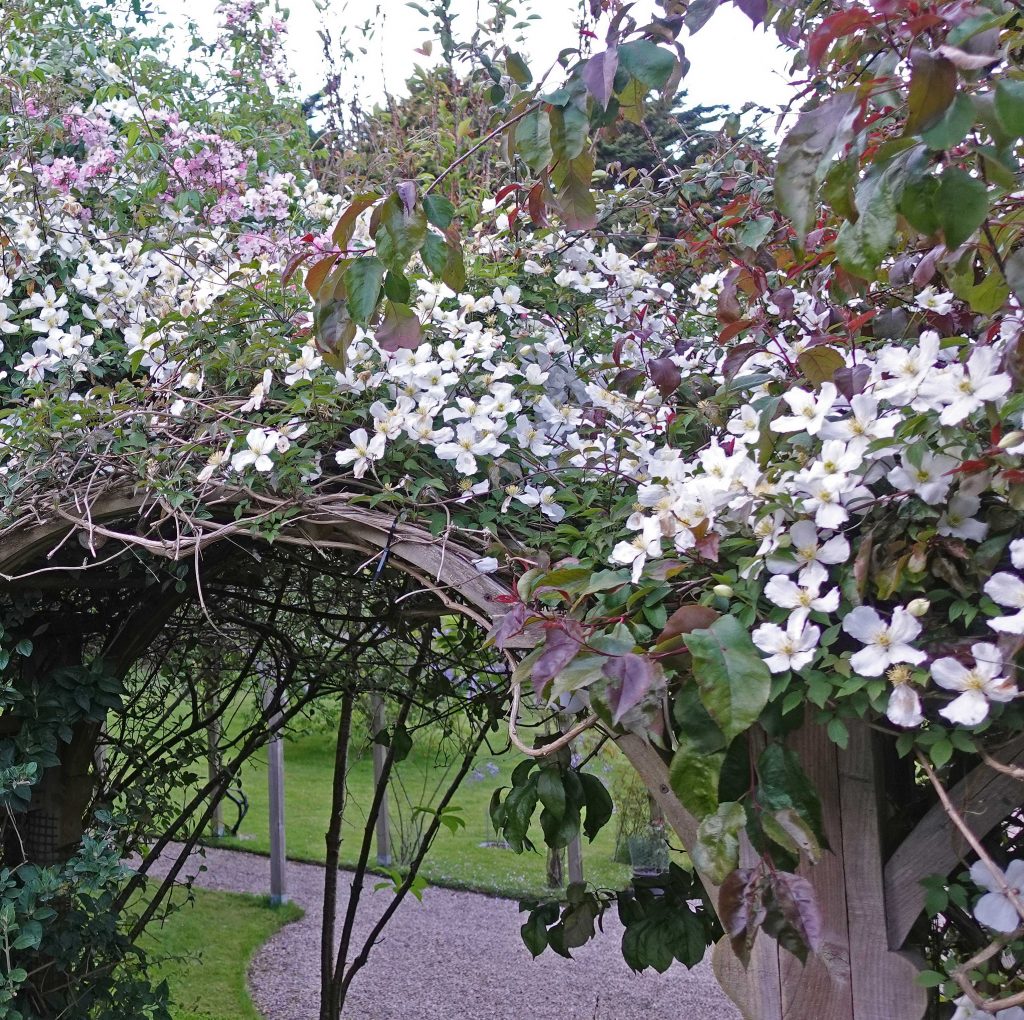
Again, in my humble opinion, I think it looks rather elegant! However, plants grow if given the slightest encouragement and now it is almost completely obscured by clematis and a bit of rambling rose! Next is the construction of a pergola in a bit more detail.