
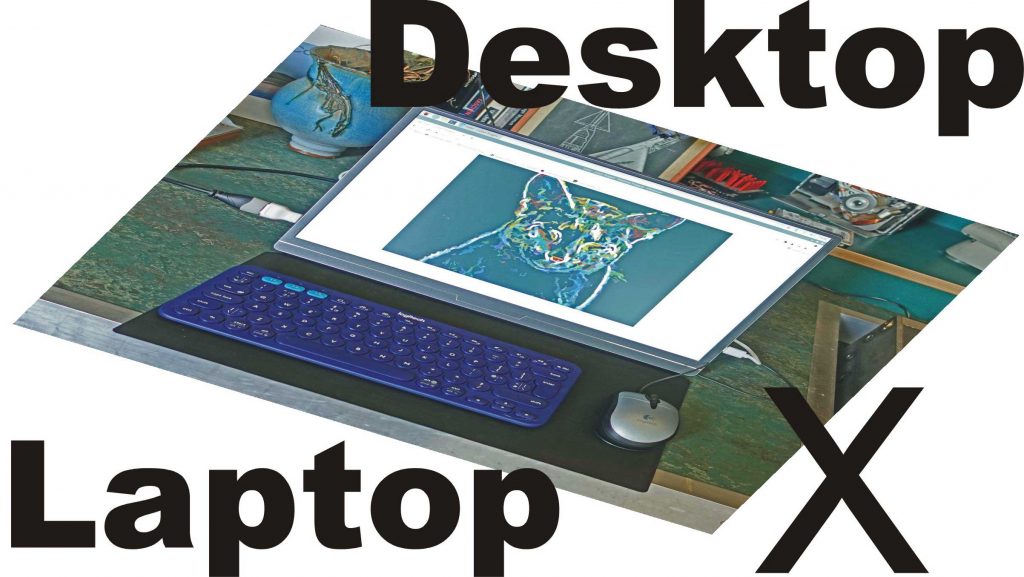
I wanted to assemble a mobile Raspberry Pi computer – probably halfway between a lap top and a desktop. My aim was to be able to carry it around in an old (largish) laptop bag which I already had. Using a Rpi 400 would have led to the closest thing to a laptop but I wanted to retain easy access to all the sockets and the header pins so I went for a standard RPi4 which I already had (which was fortunate given the supply problems at the time of writing).
Power supply
I wanted battery power, so the easiest thing to go for seemed to be a USB power bank with a big enough capacity. It could also be used to charge other devices, phones etc.
The model I chose was the imaginatively named Power Bank, model HX160Q1 at about £23. This is claimed to have a capacity of 26800mAh which seems enormous (a quarter the capacity of a car battery?) but you have to remember the maximum output current is 3A (as opposed to several hundred amps for a car battery). In fact I found that one power bank didn’t have the capacity to supply the Rpi and the display, described below, so, as it turned out, I needed a pair of them!
Display
Next, I needed an HDMI display. Something about 15” would probably fit in the bag. There don’t seem to be that many portable displays available but the ElectroniQ supplied but Laptops Direct seemed suitable displaying at 1920×1080. When you buy things on line you have to look at the reviews, I suppose, but given there are always some one stars, you always feel you are taking a bit of a shot in the dark. The display has some quirks but generally, is pretty good for the price (about £120 but I notice it’s gone up recently!) and has a useful feature I didn’t expect, it works with Samsung DeX. This means that I can connect a USB C cable between my Samsung Note 9 and the monitor which will then produce a much more laptop-like, desktop-type experience than found on the phone. At the same time the phone can be turned into a mouse pad. All that is then needed is a bluetooth keyboard which can talk to the phone to complete the laptop experience.
Keyboard and mouse
I chose the Logitech K380 keyboard which can pair with up to three separate devices which means I can pair with my phone and the Rpi and switch between the two at the touch of a key.
I already had a small wired Logitech mouse so I used this for the Rpi. I could have used a bluetooth mouse which would would have worked with the phone as well but would have needed to be re-paired each time I switched between phone and Rpi. As as far as I know they lack the multiple pairing features of the keyboard.
Fitting it together

Now I needed to find a way of packaging the various bits of the system. I wanted a modular setup which would allow me to use the Rpi separately in headless mode.
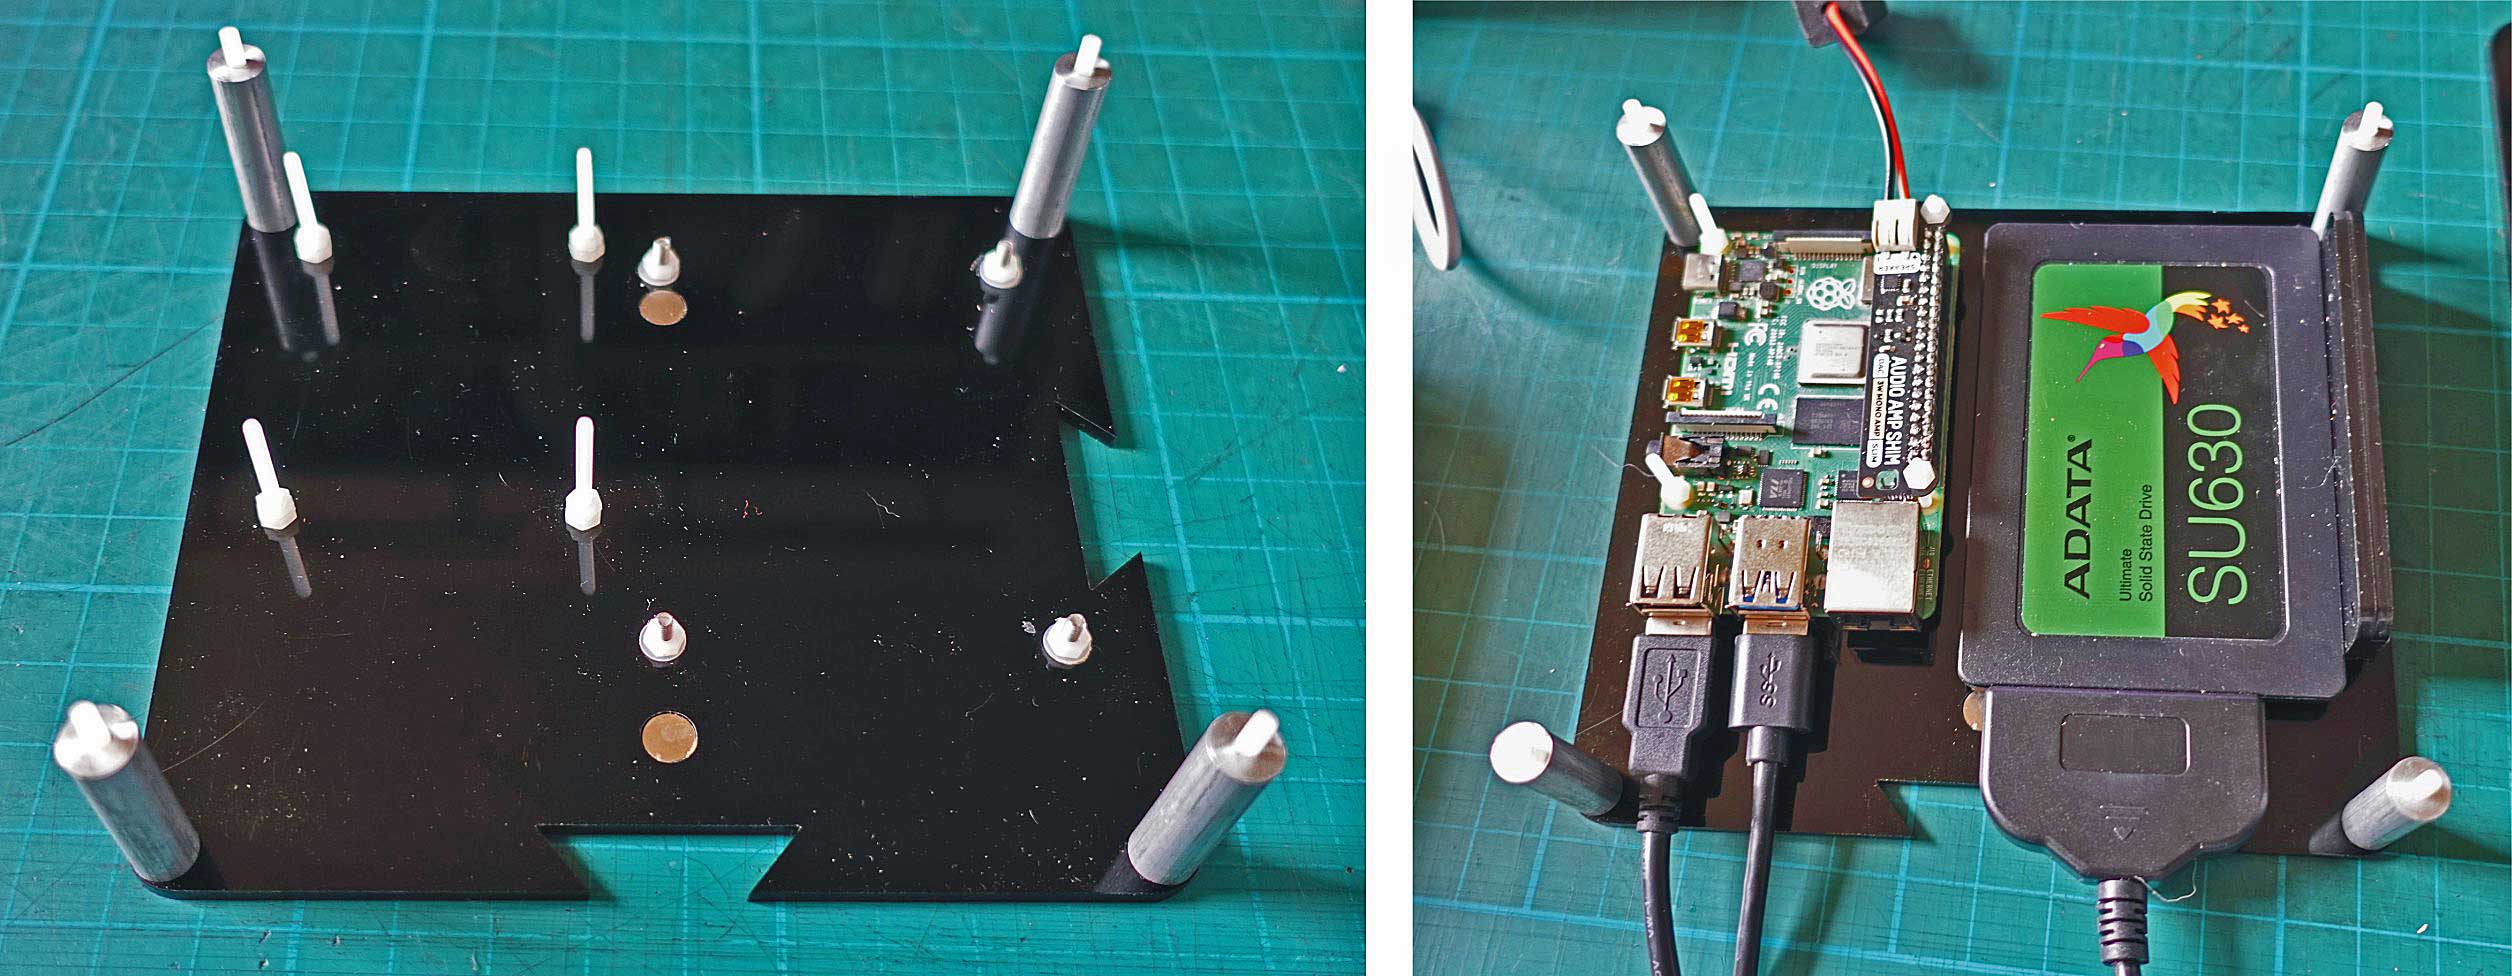
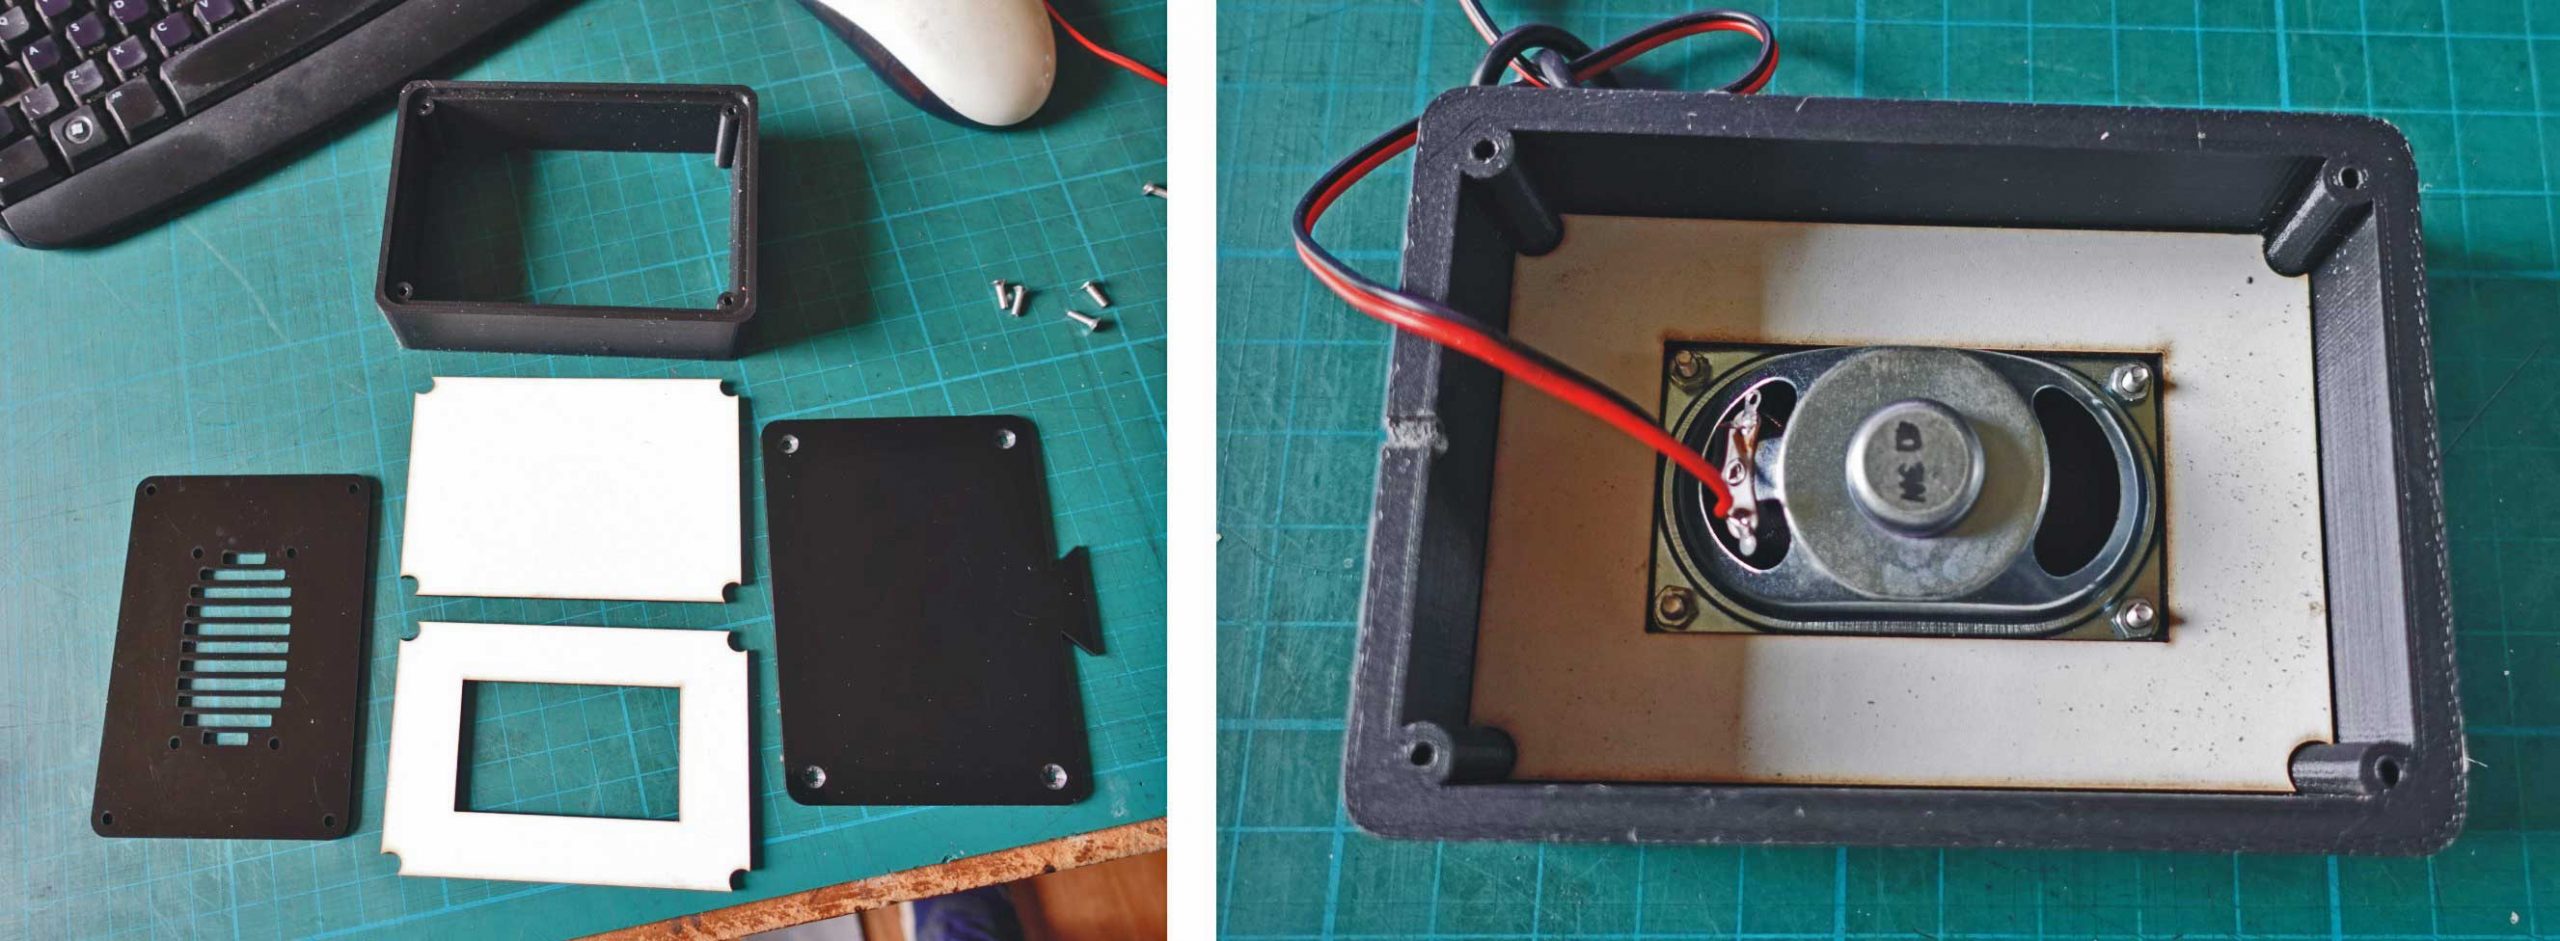
One of the problems with packaging the Raspberry Pi is that there are sockets on three sides which makes the physical design of the system tricky. I chose to put the Rpi and a 250Gb SSD in a skeleton box; perspex top and bottom separated by four tubular stand-offs, leaving plenty of access for cables and room for a second SSD. I added an audio amp shim from Pimoroni and their 3W speaker (about £13.50 the two). I made a box for the speaker; the sides 3D-printed (PLA) and the top and bottom from black perspex which I laser-cut. The shapes required are fairly simple and could be sawn and drilled out of sheet rather than laser cut.
Note the dove tail shapes to link the speaker box to the Rpi case. The Rpi case has a similar dove tail to link it to the base board described below.
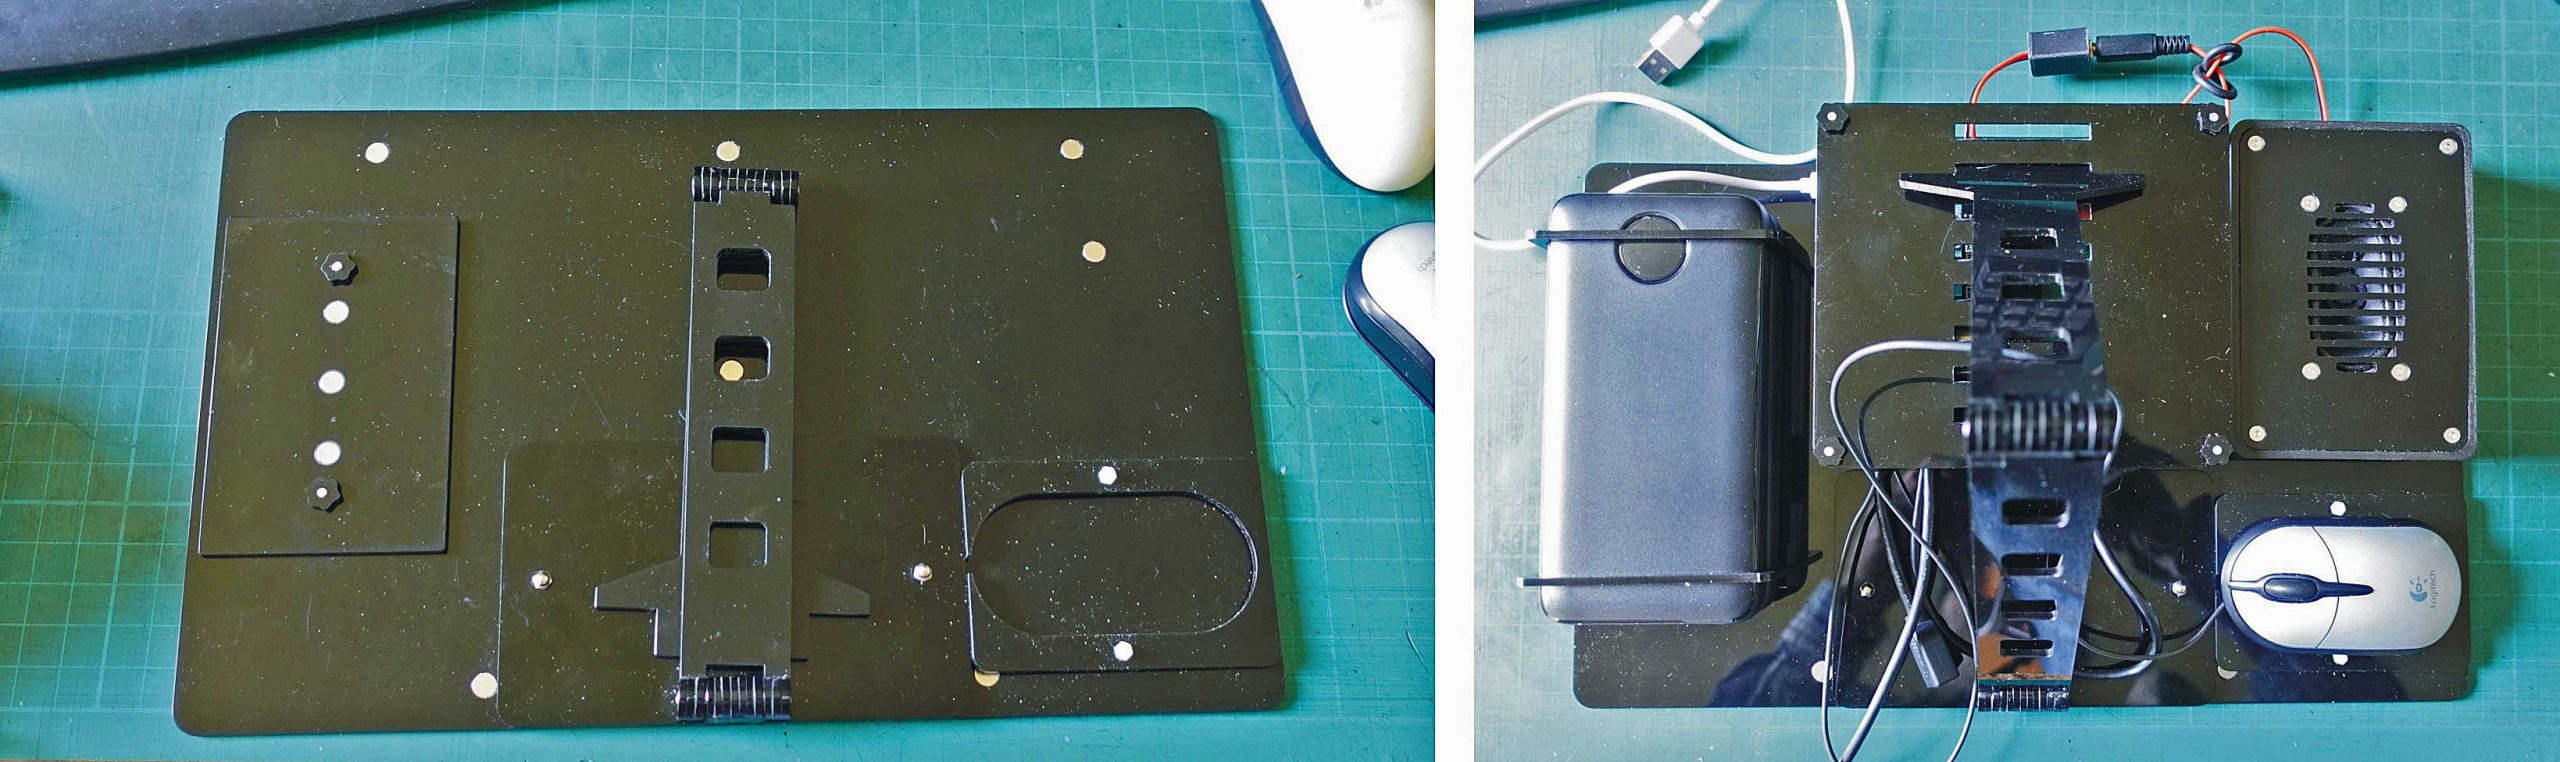
The base board which holds it all together
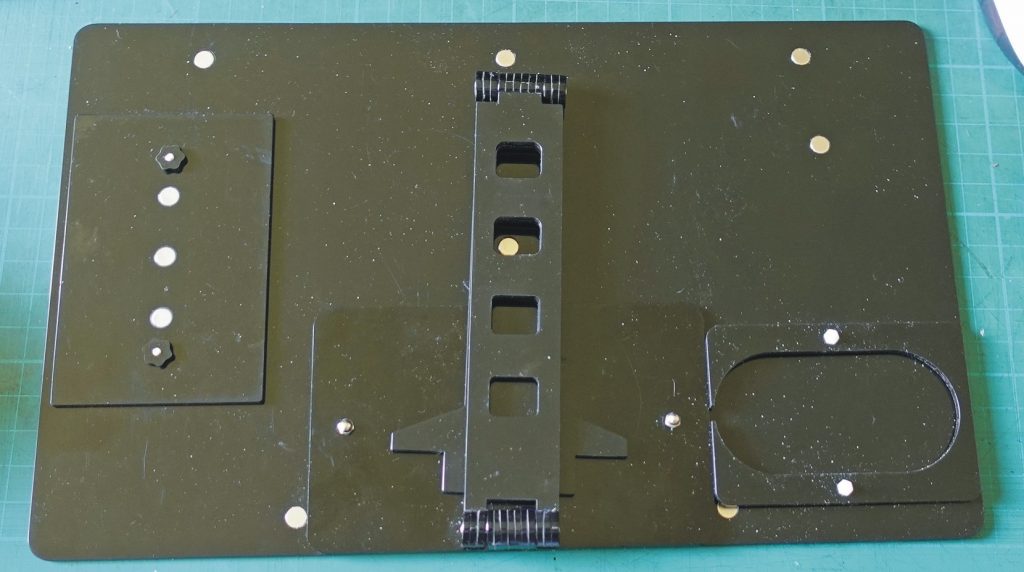
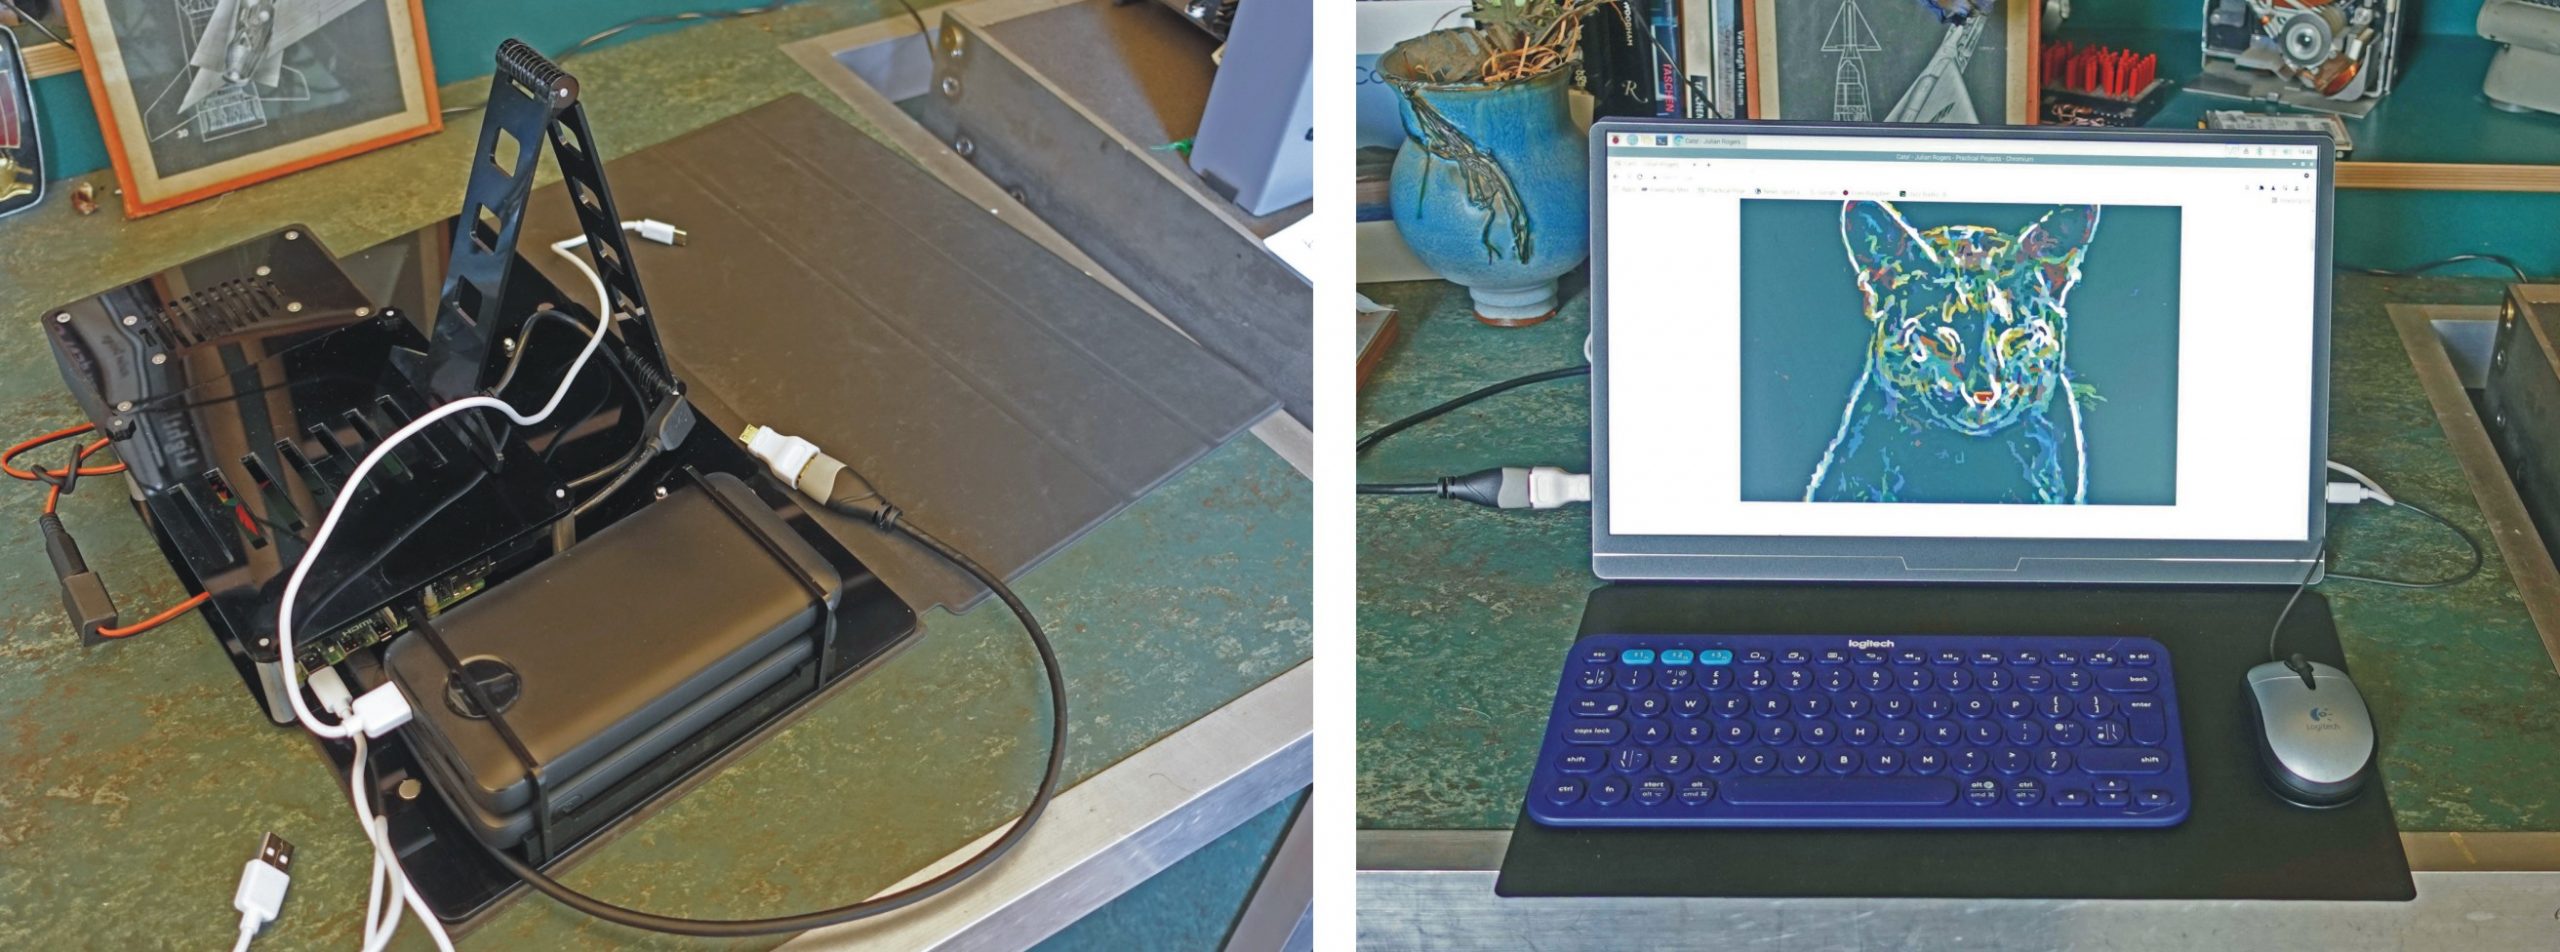
So these parts and the batteries locate on a base which also incorporates an adjustable rest for the screen. (See picture above.) I’ve fitted magnets in the base and the other component parts so everything sticks together. The screen comes with a folding magnetic cover which keeps it in position, as can be seen from the subsequent illustrations, and also allows it to stick to the aforementioned perspex base. Hopefully the illustrations make everything clear.
Audio shim problem
The audio amp shim is supposed to make contact with the Rpi just by sliding it onto the GPIO pins. This did not work as I realized after a long and fruitless investigation into the software installation (which is where I thought the problem lay). In my opinion the shim needs to be fitted with female headers and then plugged into the GPIOs. Of course, this means nothing else can be plugged in (there are special headers which get round this problem if required).
The audio output from the speaker is much louder than the output from the screen (over the HDMI) but to my ear, is a tiny bit distorted if you are a hi-fi enthusiast (fortunately, I am not particularly one of those!)
Power banks
As mentioned above, one power bank won’t supply the Rpi and the screen. It turns out that the screen can consume at a similar rate to the Rpi when at full brightness. (The screen has manual brightness control which I am grateful for – automatic systems often don’t work as well as they should in my experience.) The Rpi battery will probably last about ten hours with average use. The power bank has a button which turns on a display which shows the percentage of charge which is left. This is useful but there is a catch! Pressing the button causes the power to momentarily cut which on the Rpi side, of course, causes an immediate reset!
However, this is a useful feature with regard to the power bank connected to the screen. When the Rpi switches off the video after a period of inactivity, the screen turns off and won’t come back on unless it is reset by momentarily disconnecting the power. Pressing the button on the power bank does just that!
I use a couple of Rpi4 power supplies to charge the power banks which they do quite quickly. I can use the power banks to charge my phone etc. (Interestingly the phone accepts a rapid charge from the power banks but it’s very suspicious about being connected to the Rpi4 power supplies and it sets a very slow charge rate.)
Holding the power banks in place
I had to come up with a way of holding the power banks securely on the base. There will be many alternatives but this is how I did it. I used a profile gauge on the cross section of the power bank, scanned the profile, pasted it into CorelDraw and drew a Bezier curve to follow the shape. The picture below shows the cross section for the two power banks transferred to Inkscape (a program which can save in .svg format which, in turn, can be converted to a GCODE file for the laser cutter – as described elsewhere on this site.)
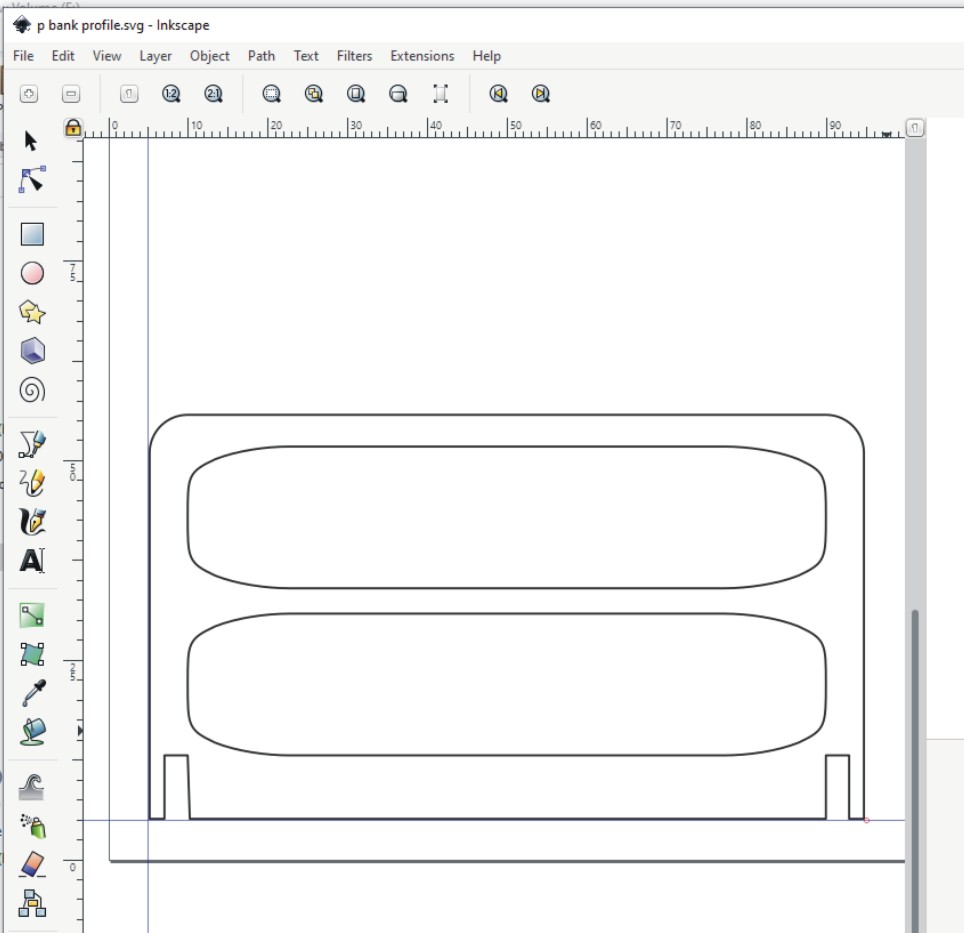
I made a test cut and found it was a nice tight fit over the power bank. The skinny dimensions of the shape allows the flex in the perspex to produce a tight fit without breaking the plastic.
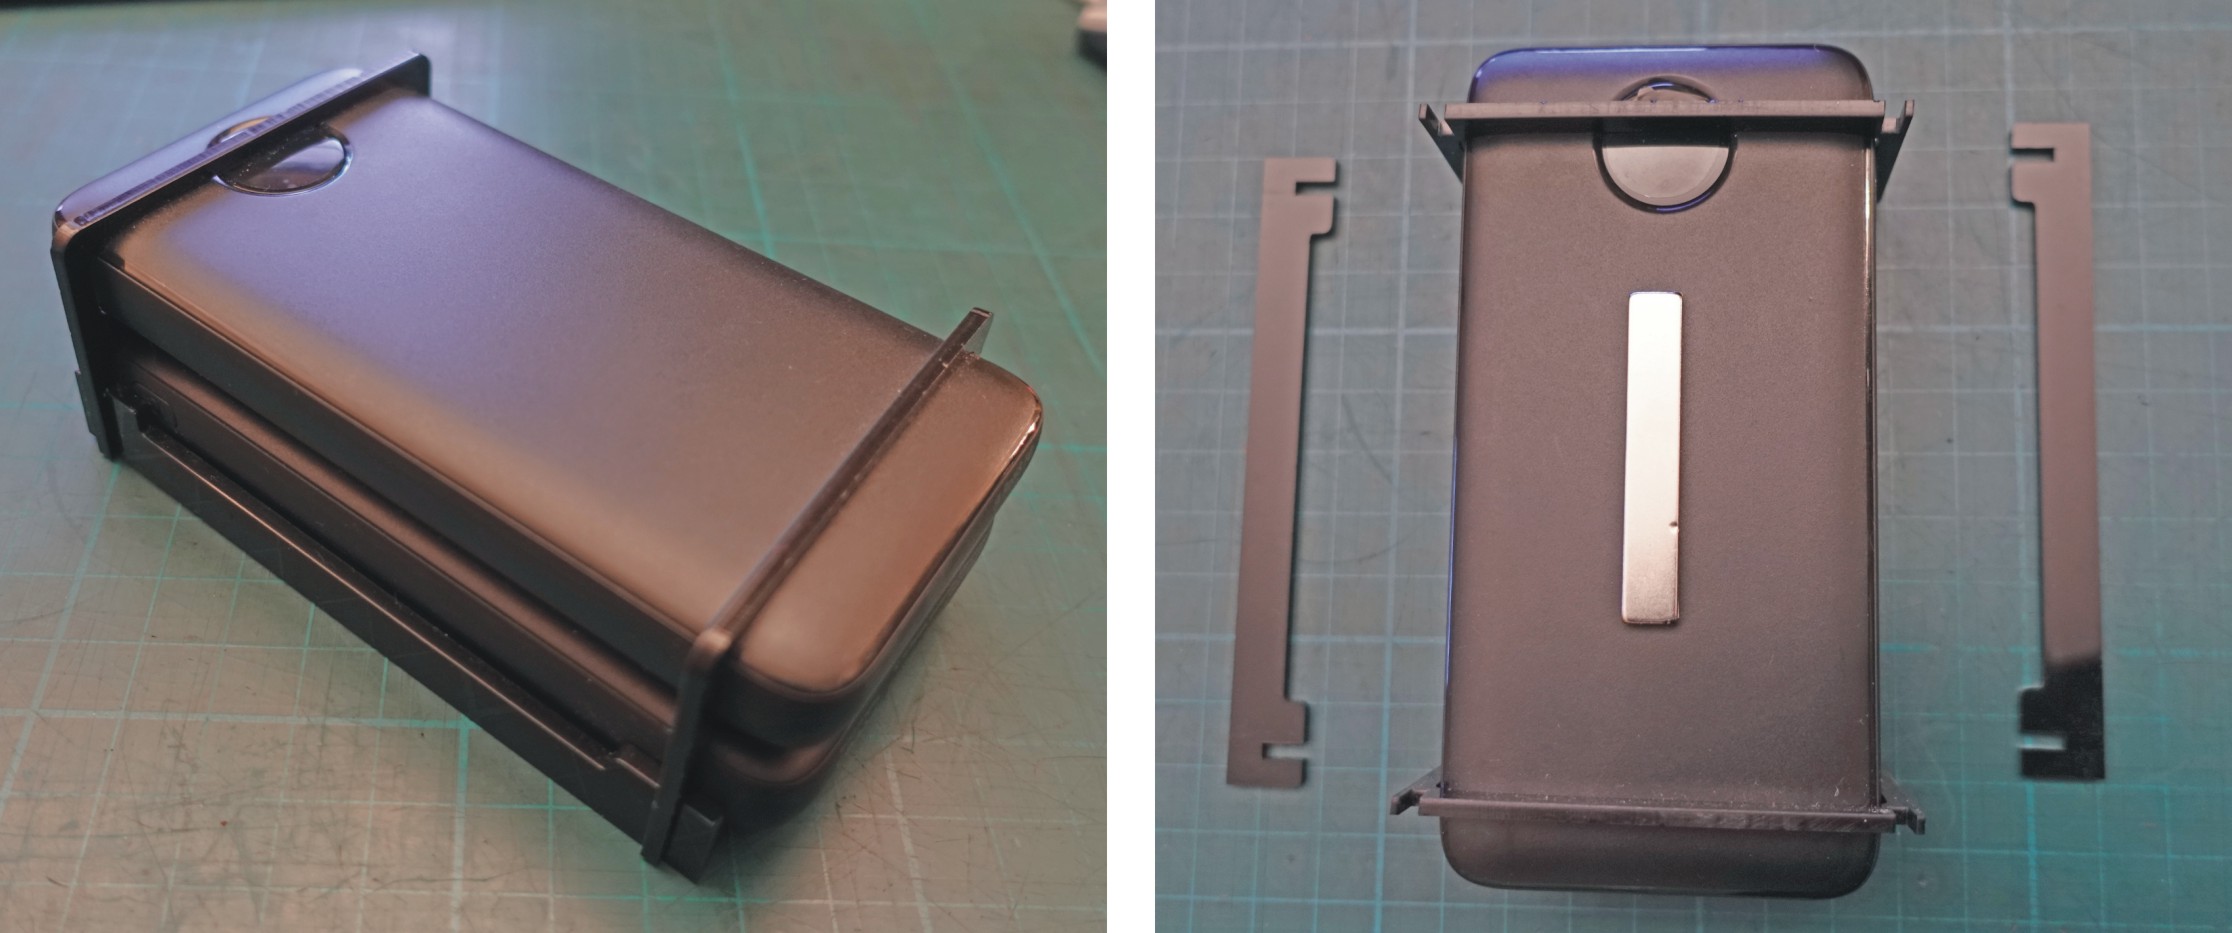
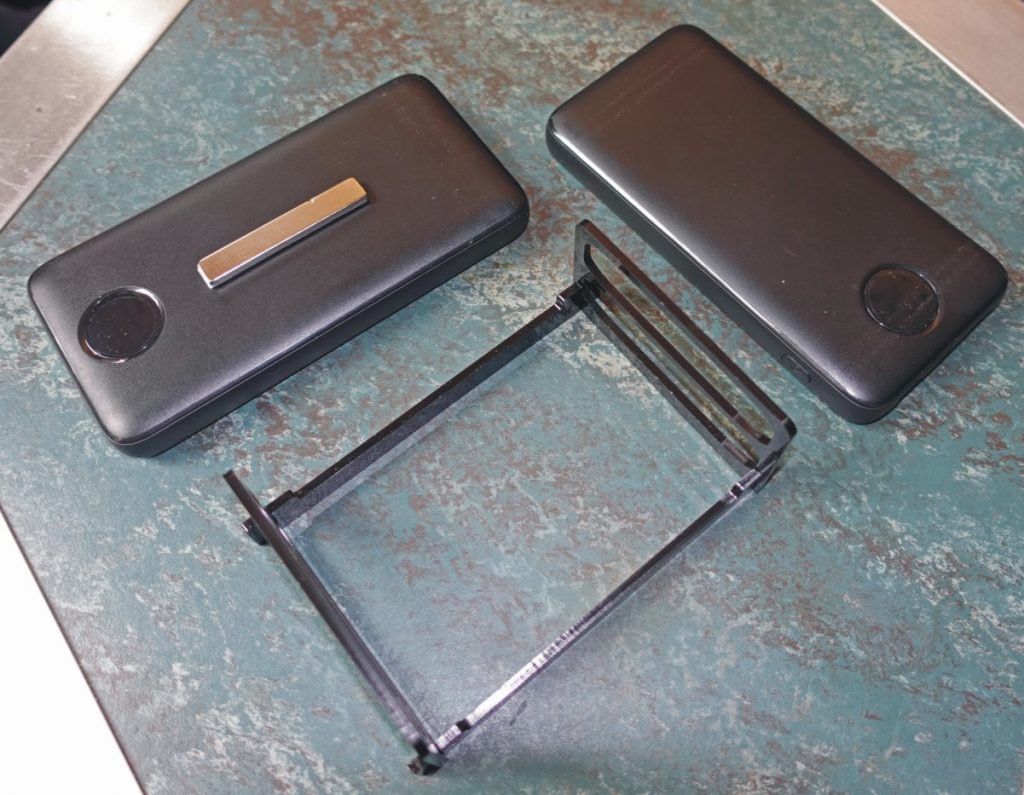
The metal bar is a magnet glued to one of the power banks. It clamps onto some circular magnets pressed into the power bank locator on the computer base. See pictures above and below.
Final assembly
Above right and left and below left: You can see the prop to support the screen. By slotting the end in the holes on the top of the Rpi case, the angle can be adjusted as required.
Prop and hinge details
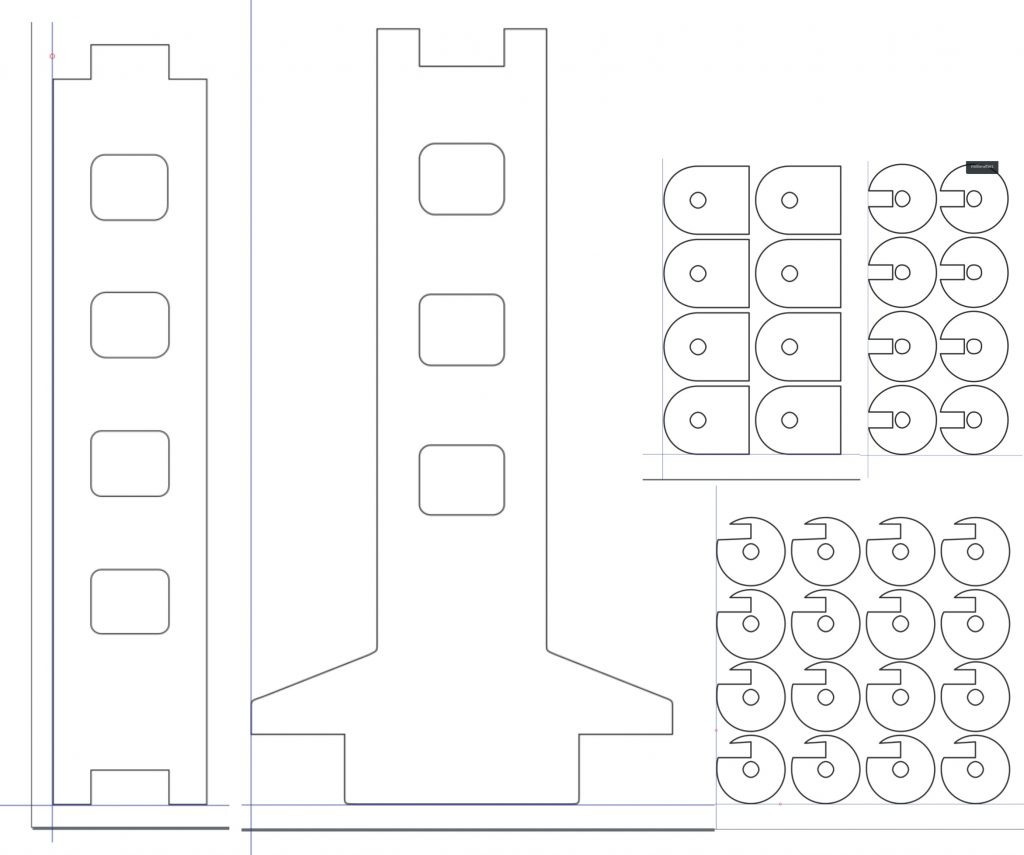
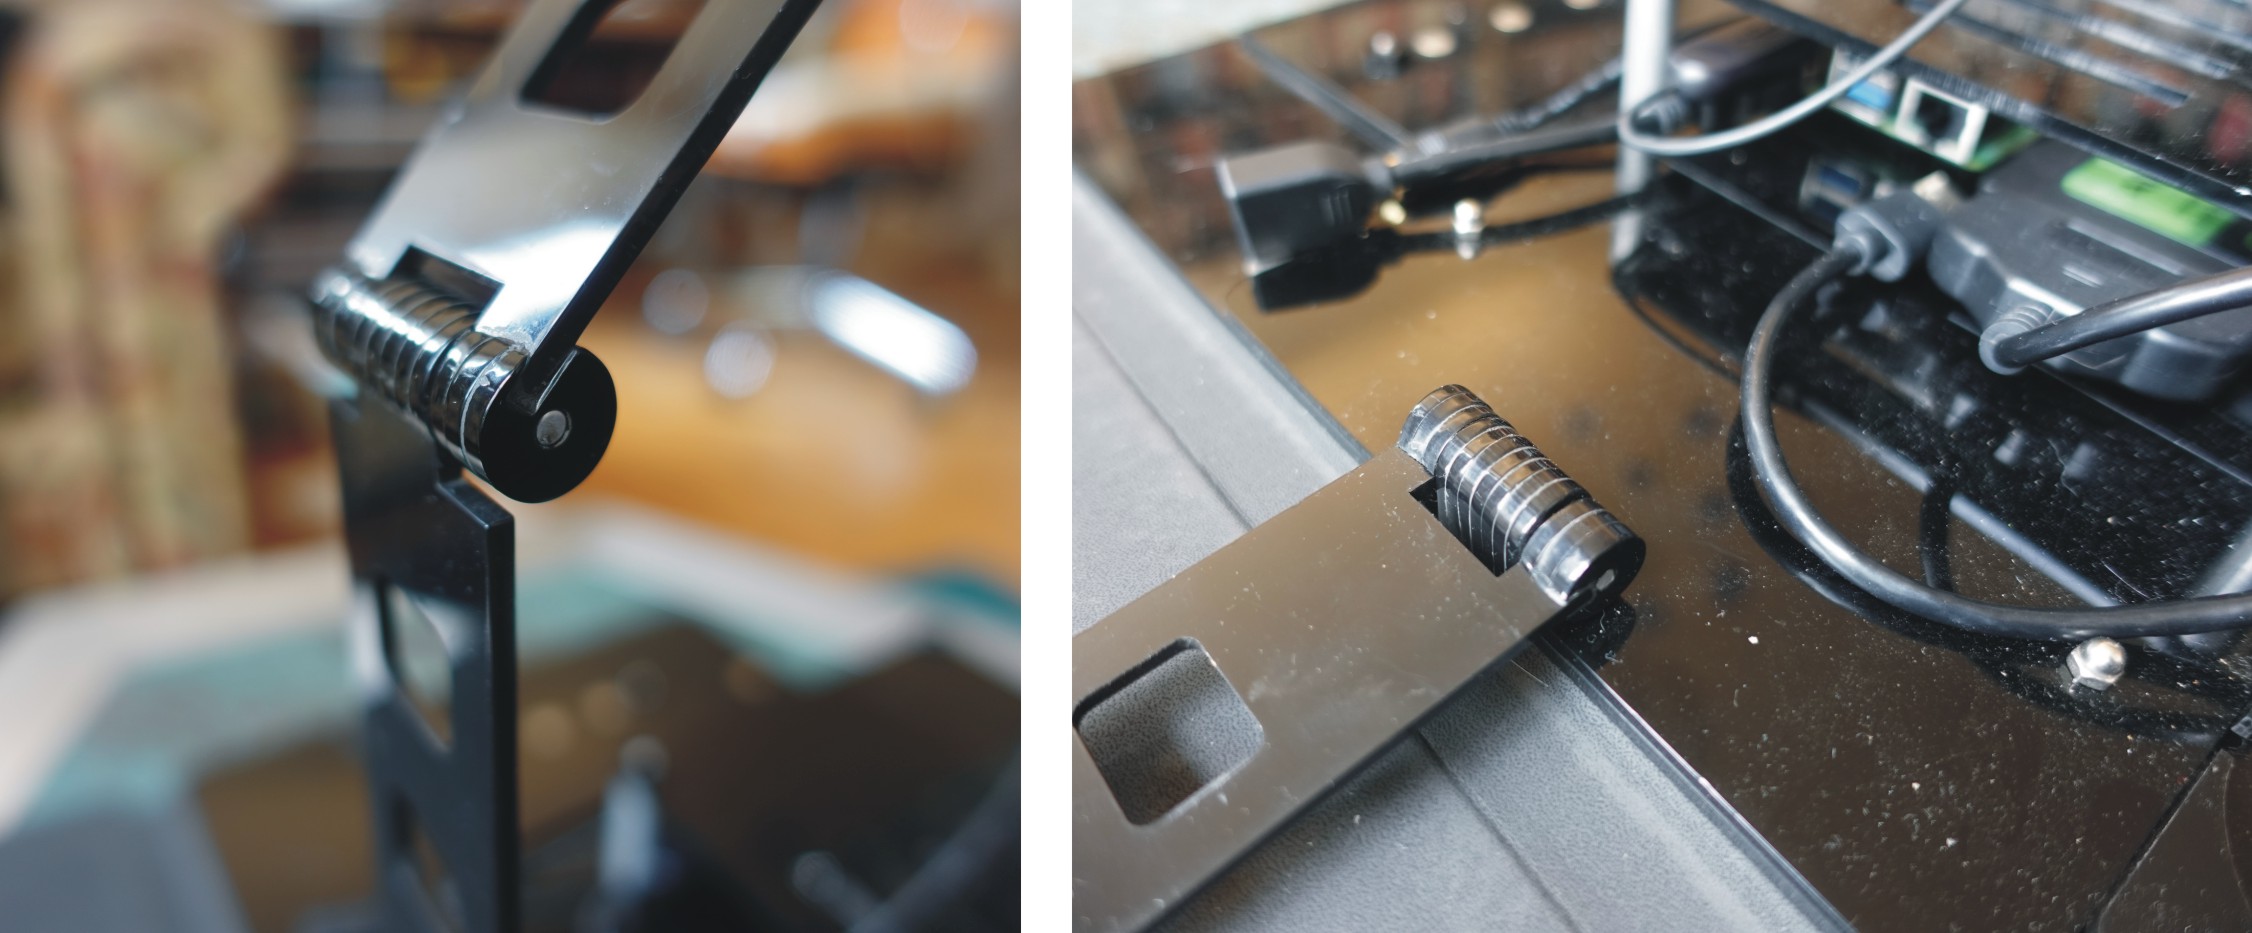
The hinges were assembled from the laser-cut parts and glued together and to the parts of the prop and the base. I used Gorilla Glue Clear.
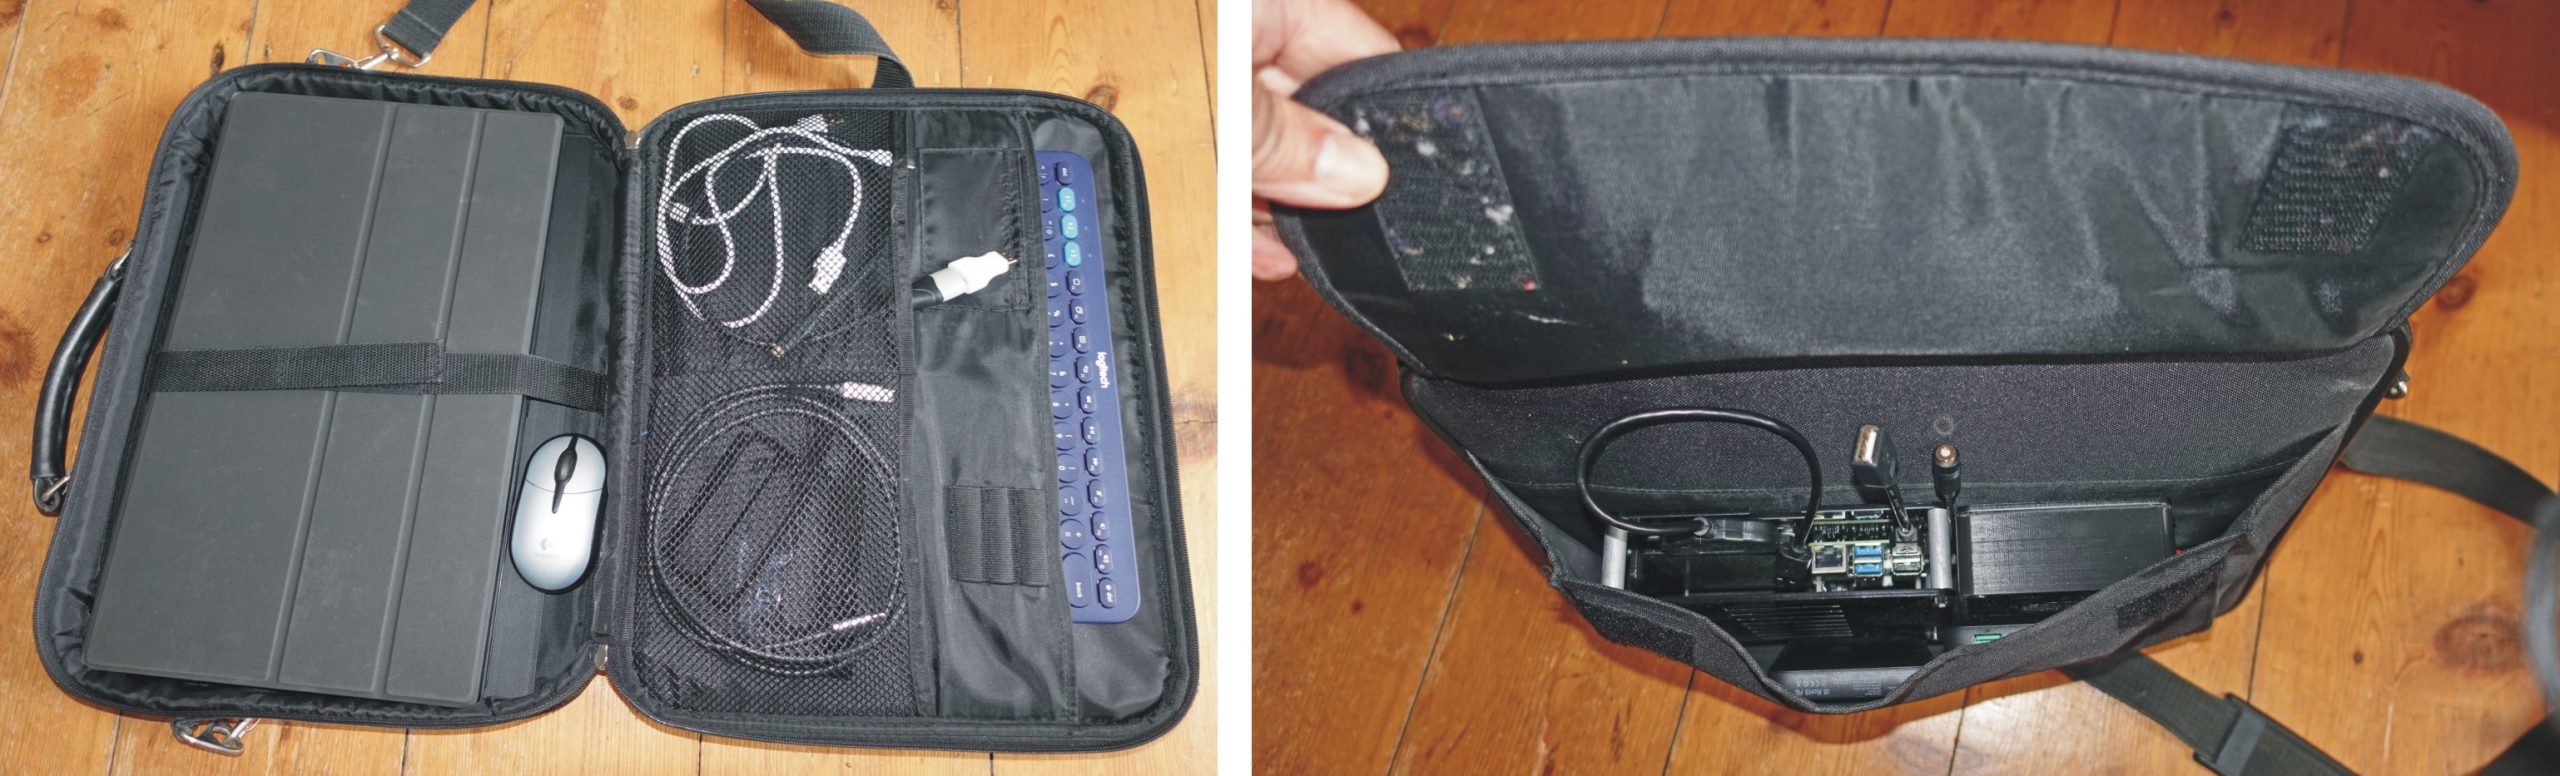
It’s in the bag
Conclusion
The Rpi makes a very usable general purpose computer which can do most things except heavy duty video processing etc. all for less than £300. My set up is a bit of a phaff to assemble from the bits in the bag and there are, I’ve no doubt, better designs for such a computer but, for me, this has proved itself to be a really useful piece of kit.
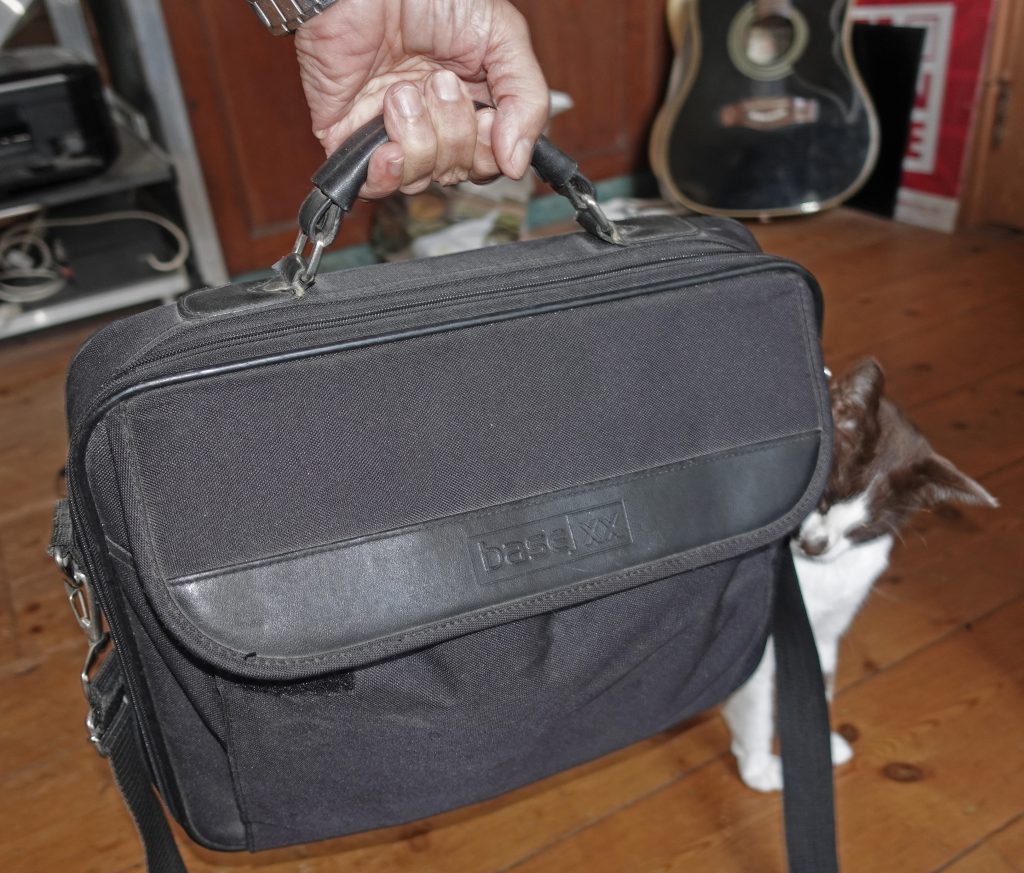
The whole kit and caboodle weighs 4.6 kilos. The cat (Sweetie) likes it!
Samsung DeX
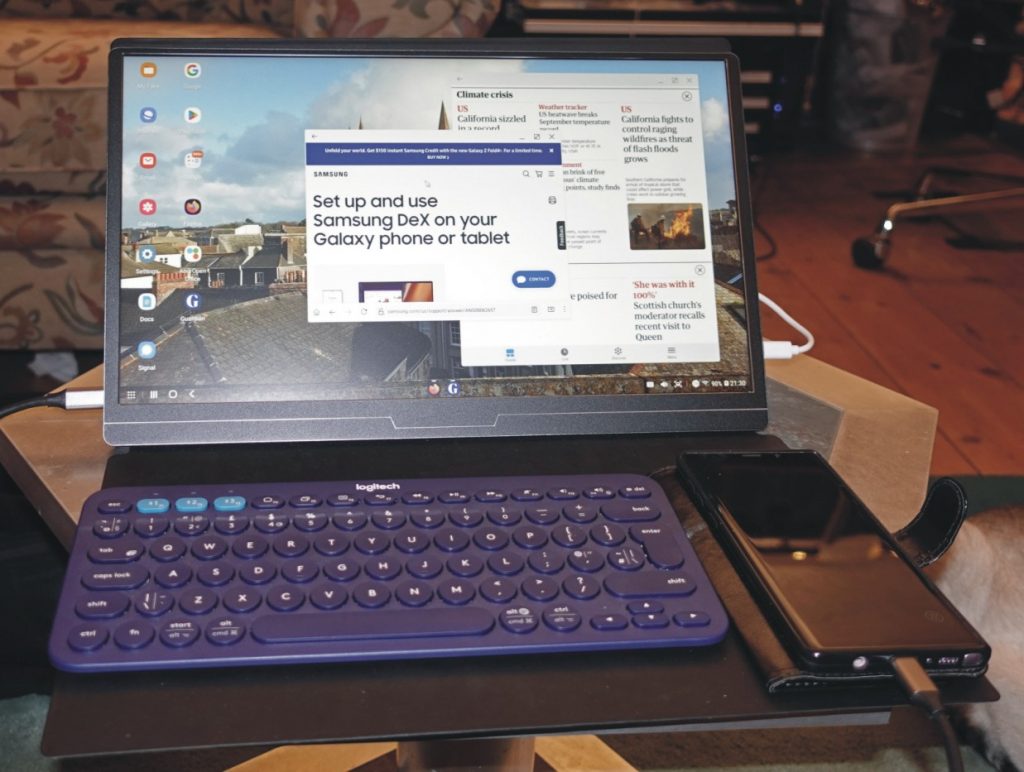
There are possibilities for using a phone with thr Raspberry Pi. By connecting my Samsung Note 9 to the monitor (USB C cable connected to the left hand socket) and enabling DeX, the phone becomes like a laptop. The Bluetooth keyboard connects and the phone itself acts as a mouse pad. The phone can power the screen but obviously the battery will discharge quite rapidly. It’s best to connect a charger to the screen’s right hand USB socket.
Alternatively, by loading the VNC app onto the phone and mirroring the phone on the monitor screen (VNC doesn’t work on DeX) you can take the phone and the screen away and control the Raspberry Pi remotely.
Another use of the phone might be to create a WiFi hotspot and connect the Raspberry Pi to enable mobile internet access.
An expensive lesson
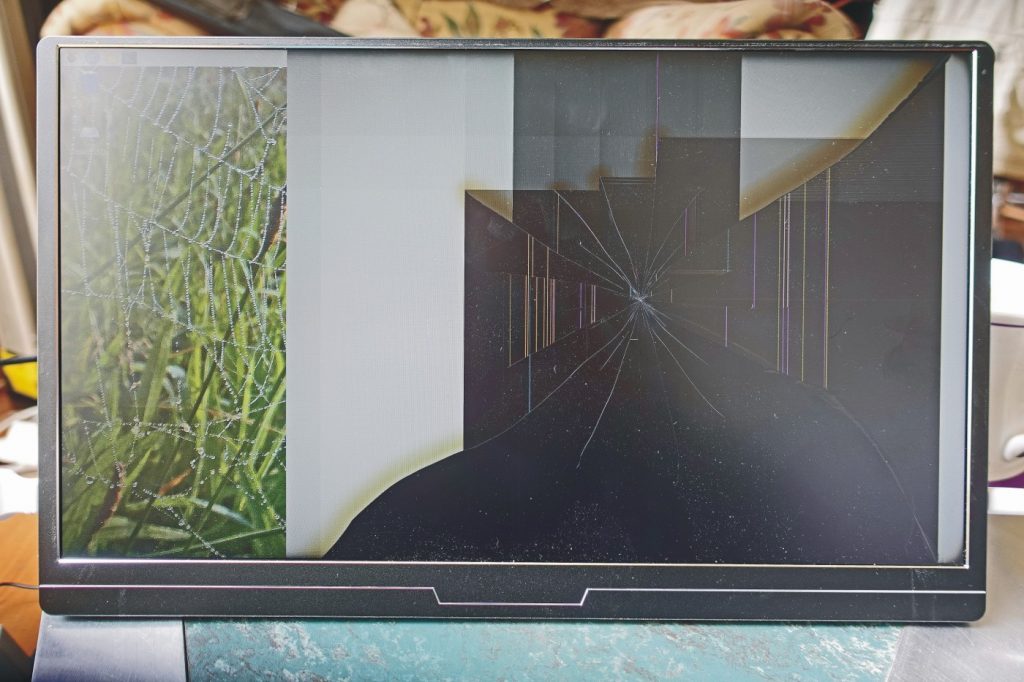
I accidentally let the screen pivot from its tilted position to a flat position on the table. Unfortunately, the screen overlapped the table corner and when it landed it must have bounced slightly onto the corner and wrecked the screen. Doh!